A DIY Throw Blanket Using the Cricut Maker
/Affiliate links are included on this page. If you click a link and choose to make a purchase, I will earn a commission. Thank you for supporting my business!

When I was browsing through JoAnn the other day, I came across this plaid throw that was too pretty to pass up. It's so soft!
As I continued to mosey through the store, I found a gray polka-dotted flannel that looked so good with the blanket, so of course my wheels started spinning.
I am NOT a seamstress, so sewing anything together was completely out of the question. BUT, I do know how to use Heat 'n Bond. And I do happen to have a Cricut Maker that can precisely cut the fabric and bonding for me...
...so that, my friends, is how this DIY Throw Blanket using the Cricut Maker was born...without having to sew a stitch!
Here's the Super Easy How-To!

You'll Need:
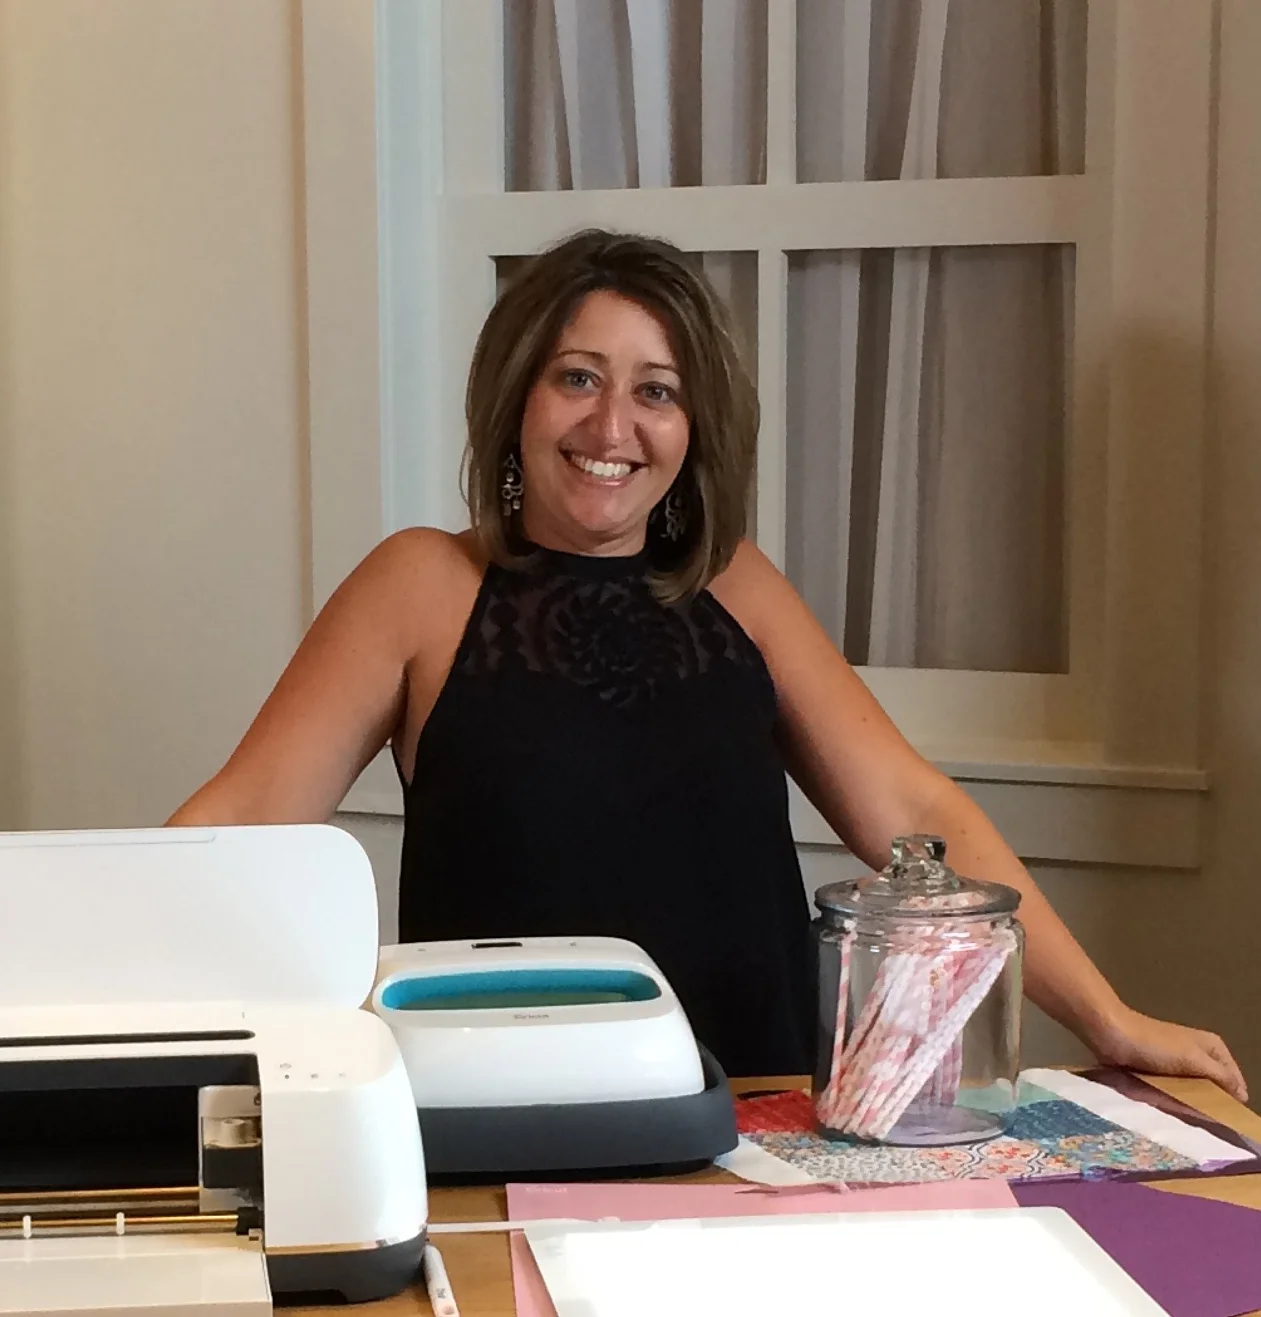
Your Cricut Maker (set up with the rotary blade and a fabric mat)
A throw blanket
Coordinating fabric
Heat 'n Bond
Scissors
An iron

Start off by opening Design Space and clicking "New" in the top left corner of the screen. This will open up a blank canvas for you.
Click "Text" in the left menu bar, and then type the initial that you'd like to use in the text box that populates.
After you've entered your initial, clicking on it will open a font menu at the top of your screen. Use that menu to change the font, size, etc. I used the font "Liberty Regular" for this blanket.
You can also change the font size by clicking on the arrows around the text box and dragging.
Once you have the font and size that you'd like, click "Make It" in the top right hand corner.

Next, cut your fabric to a size a bit larger than your initial will be. Cut a piece of Heat 'n Bond just slightly smaller than your fabric, and fuse together with an iron by following the instructions on the Heat 'n Bond package.
Return to Design Space. Follow the prompts to cut out your initial with your Maker.

Once the initial is cut, remove the paper backing from the Heat 'n Bond and locate where you'd like to adhere your initial to the throw. Then simply follow the directions on the Heat 'n Bond package to fuse the initial and blanket throw together.


That's all there is to it! So super easy, right?
Now all that's left to do is cuddle up under this cutie!
Snuggle up on the couch with it, pack it for a tailgate, or cozy up under it on the porch while sipping some warm cider!
However you choose to use, it, enjoy...and be sure to share your pics with me on Facebook or Instagram (tag @JenTbyDesign).
Happy Creating! xoxoxo
If you like these ideas, please "Like," "Pin," "Share" or "Tweet!" Or, you can just shout it from the rooftops, if that's your thing. Thanks bunches!!! :)

This is a sponsored conversation written by me on behalf of Cricut. The opinions and text are all mine.