Christmas Ornament Making Party with Cricut
/Affiliate links are included on this page. If you click a link and choose to make a purchase, I will earn a commission. Thank you for supporting my business!

A Christmas Ornament Making Party is a great way to get together with some of your girls, get some quality time in before the holidays get crazy, and create some really cute ornaments for Christmas!
So gather your friends, whip out your Cricut cutting machine and EasyPress, and follow along as I show you how to create some adorable DIY Christmas ornaments that you can create for your tree, or give as gifts!
Don't have a Cricut cutting machine? Enter to win a Cricut Maker at the bottom of this post!!!


If you have everyone bring a pack of ornaments to share, it will really help with keeping your hosting costs down, and everyone gets to leave with a variety of homemade ornaments, which is really cool.
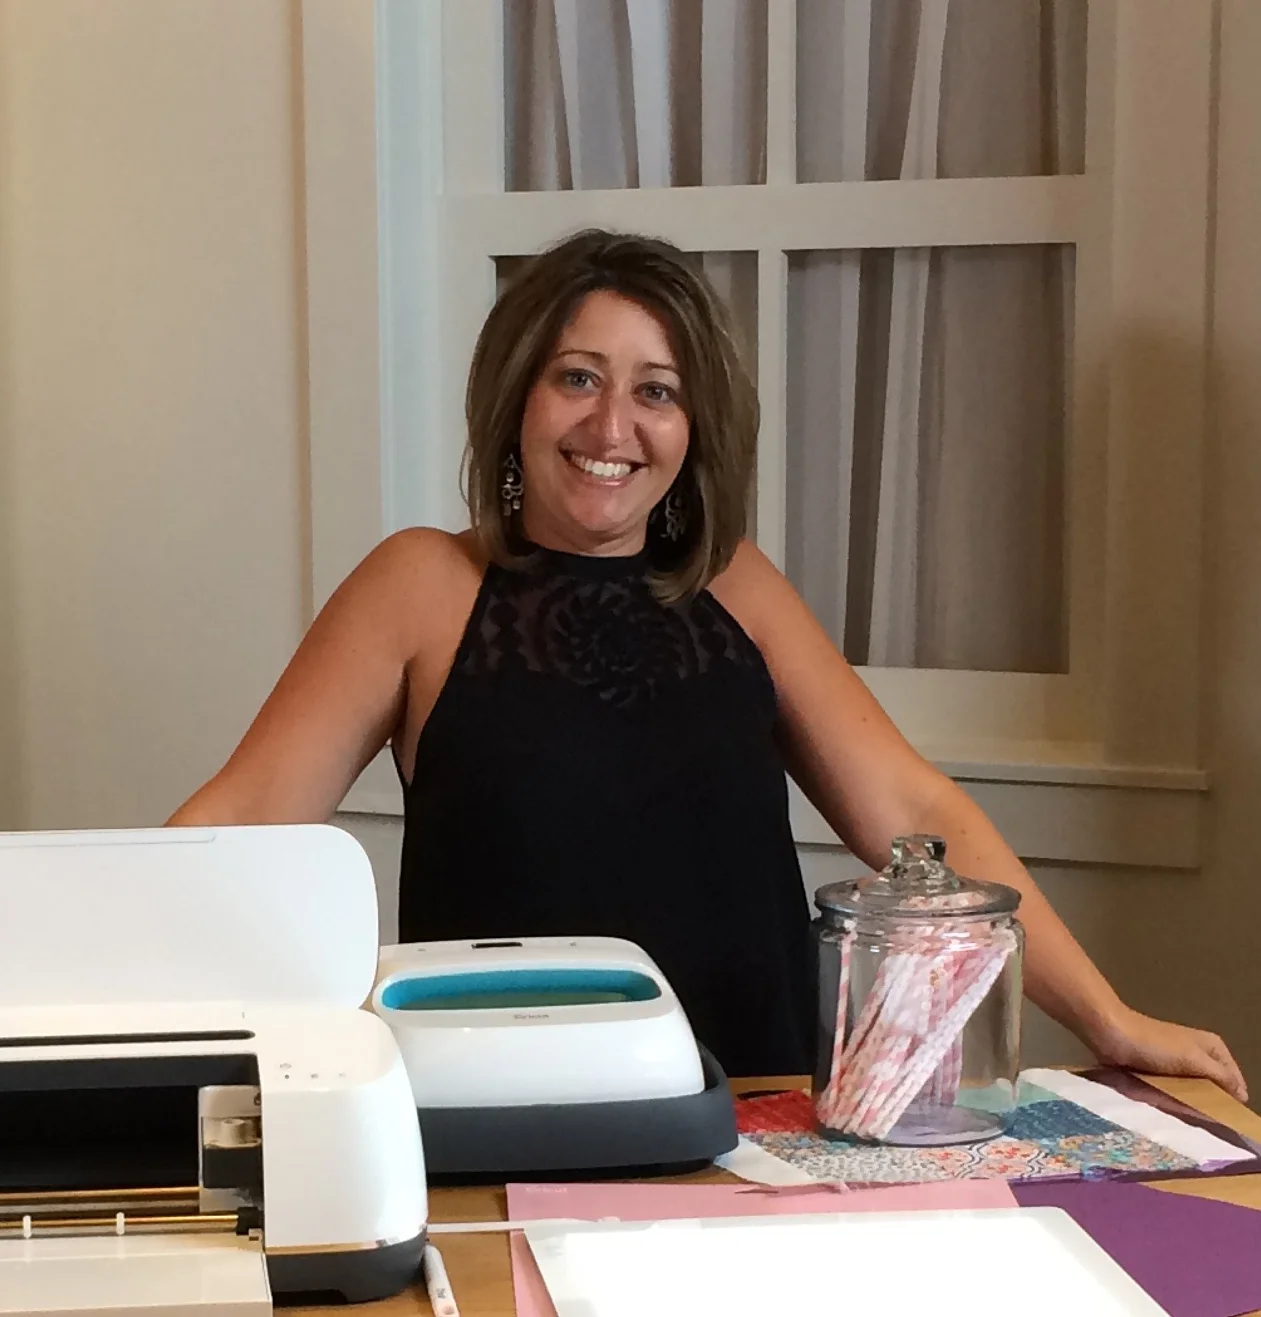
Since I am madly obsessed with my Cricut Maker and Easy Press, our party revolved around ornaments that could be decorated using the Cricut machines...just call it a Cricut Christmas! :)
We used glass balls, birch wood slices, and flat ceramic ornament shapes.

Of course you want your project table to look pretty and festive, but be sure to leave plenty of space for creating.
We displayed bulk ornaments down the center of the table, along with some holiday decor. We put paper plates at each place setting to protect the table, and added some personalization goodies to each plate, which kind of served as place cards.
We also made sure everyone had a mug to sip on hot cocoa while we crafted the afternoon away. :)
Here are the DIY ornaments that we made for our Christmas Ornament Making Party, and what you'll need to recreate each one.


DIY Wood Slice Ornaments
You'll Need:
Wood slices (I found a bag full of them at Hobby Lobby for only a few dollars)
Cricut cutting machine (I used my Maker, but if you have an Explore, that will work, too)
Cricut EasyPress
A variety of iron-on vinyl
Weeding tool
Ribbon
Hot glue
Here's what I love most about this project: The possibilities are endless!
You can create monograms, use single images (like a snowflake), or you can layer images to create a look of your own (the deer and tree that we did is actually three layers of vinyl that we pieced together.
Simply open Design Space, click to start a new project, and either enter text or search images for whatever you'd like to use on your wood slices. If you like what we used, you can access those designs in Design Space here.
Be sure to size the images so they will fit on your wood pieces, then follow the prompts to make the project.
When using iron-on, always be sure to put the vinyl side down on the mat and mirror the image before cutting. :)


Once the images are cut, you will need to weed the excess vinyl off of the iron-on backing.
With small images like this, a weeding tool is very helpful. I also use my Cricut Bright Pad, which I love! It makes seeing the cuts and weeding soooooo much easier!

Once all of your images are weeded, it's time to adhere them to the wood. I'm still in awe that the EasyPress can do this! (Did I mention that I'm slightly obsessed)? ;)
Preheat your EasyPress to 300 degrees, and set the timer to 40 seconds.
While the EasyPress is preheating, protect your work surface. I used a bath towel on my kitchen counter.
Then just place the images where you'd like them to be on the wood, put the EasyPress on top, and press the "C" to start! Apply slight pressure while the machine is working, and the timer will beep when it is done.
Let the image completely cool before trying to remove the backing. Once cool, if the foil is not fully adhered, repeat the process. Since the wood is not completely flat, this may take an extra go round with the EasyPress.
Next, hot glue a piece of ribbon onto the back of the wood to create a hoop for hanging, and you're all set! So pretty and fun! :)

DIY Personalized Ball Ornaments
You'll Need:
Ball ornaments
Cricut cutting machine (I used my Maker, but if you have an Explore, that will work, too)
Cricut vinyl
Transfer paper
Weeding tool
Ribbon
This is a really easy one, and just may be my favorite ornament that we made at the Ornament Making Party!
To make your names, simply click to open a new project in Design Space, click the "text" icon to open a text box, and enter the names or text that you'd like to cut out! It's seriously that simple!
I sized my text to be just under one inch tall, and I used the "Kyden" font.
Once your text is all entered, load your vinyl onto the mat and click "Make It." Follow the prompts to cut the vinyl.
Follow the instructions above for weeding the vinyl.

Cut the names out, then cut pieces of transfer tape that will fit over each name.
Peel the backing off of the transfer tape, and place the transfer tape on top of the text. Use a scraper and rub over the letters to help adhere the text to the tape, then slowly peel the backing off.
Center the text on your ornament, and gently massage down with your finger. Be careful to only apply gentle pressure so that you don't break the ornament. Peel away the transfer tape.
Tie a ribbon through the ring for hanging and enjoy!!! :)

DIY Photo Ornaments
You'll Need:
Flat ceramic ornaments (I found these at Hobby Lobby)
Cricut cutting machine (I used my Maker, but if you have an Explore, that will work, too)
Cricut printable vinyl (seriously...best invention EVER)!
Ribbon
Of all the projects we did, this one was the easiest, and I think it's the best one for gift giving! How's that for a win-win? :)
To make this one, choose the photo that you'd like to use on your computer and upload it to Design Space. Save it as a "Print then Cut" file, then click "Insert Image."
On the design canvas, use the shape tool to draw a circle (I drew a circle that was just a wee bit smaller than the face of the ornament.
Resize the image to the size that you'd like it to be, then place it over the circle. Select both the circle and the image, then click "slice" in the bottom right hand menu.
The image is now cut into a circle, and you can click and drag it away from the full image. Delete the remainder of the image, and the remaining circle, then click "Make it."
Load your printable vinyl into the printer, print it, place it on the mat, then follow the prompts to cut the image.
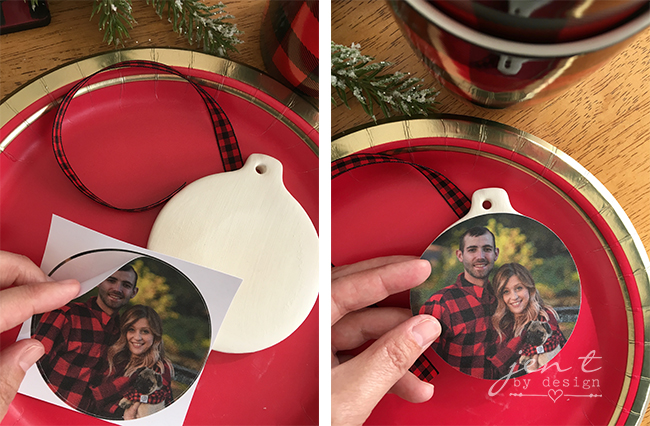
Peel the vinyl away from the backing and center onto the ornament. Press firmly for good adhesion. String with a ribbon for hanging. :)

So there ya have it...three really cute DIY ornament ideas that you can make at a Christmas Ornament Making Party!
If you decide to give any of these projects a whirl, please tag me on social media! I absolutely love seeing what you create!
Enter for your chance to win a Cricut Maker here!!!
If you like these ideas, please "Like," "Pin," "Share" or "Tweet!" Or, you can just shout it from the rooftops, if that's your thing. Thanks bunches!!! :)
This is a sponsored conversation written by me on behalf of Cricut. The opinions and text are all mine.