DIY Chalkboard Idea with Cricut and Martha Stewart
/This is a sponsored conversation written by me on behalf of Cricut. The opinions and text are all mine. Affiliate links are included in this post, which means If you purchase something through the links, I may receive a small commission at no extra charge to you.

How did we ever survive before post-it notes? I literally have them everywhere in my house reminding me of the gazillion, trillion things that I never can seem to remember on my own.
In an effort to get more organized (and maybe save a few hundred trees), I decided to find a way to ditch the paper notes and come up with a better way to keep track of that never-ending “to do” list.
Now, I know that I can use my phone or computer to keep reminder lists, but if you’re a visual person like I am, you perform much better if you can actually see the list.
When I was picking up some poster board at the Dollar Store last week, I spotted some clipboards on the shelf and a light bulb went off in my head. I had gotten a shipment of fun-colored Martha Stewart paints in the mail a week earlier...what if I used those paints to jazz up the clipboards and used those to keep my lists organized? Cricut carries Chalkboard Vinyl, so I could cut some of that, put it on top of the paint, and have a super cute new DIY Chalkboard to replace all those post-it notes.
Y’all! They turned out SO CUTE!!! Get the easy, fun DIY below.

How to Make this DIY Chalkboard Idea
You’ll Need:
A clipboard (only $1 at the Dollar Store)!
Martha Stewart Paints in your choice of colors. For this clipboard I used Martha Stewart Multi-Surface Satin in Snowball, Fire Opal, Ultramarine Blue and Pistachio
Washi tape
Masking tape or painter’s tape
Paint brushes (I used a foam brush for the white, and a smaller Martha Stewart paint brush for the colors)
A light sanding block
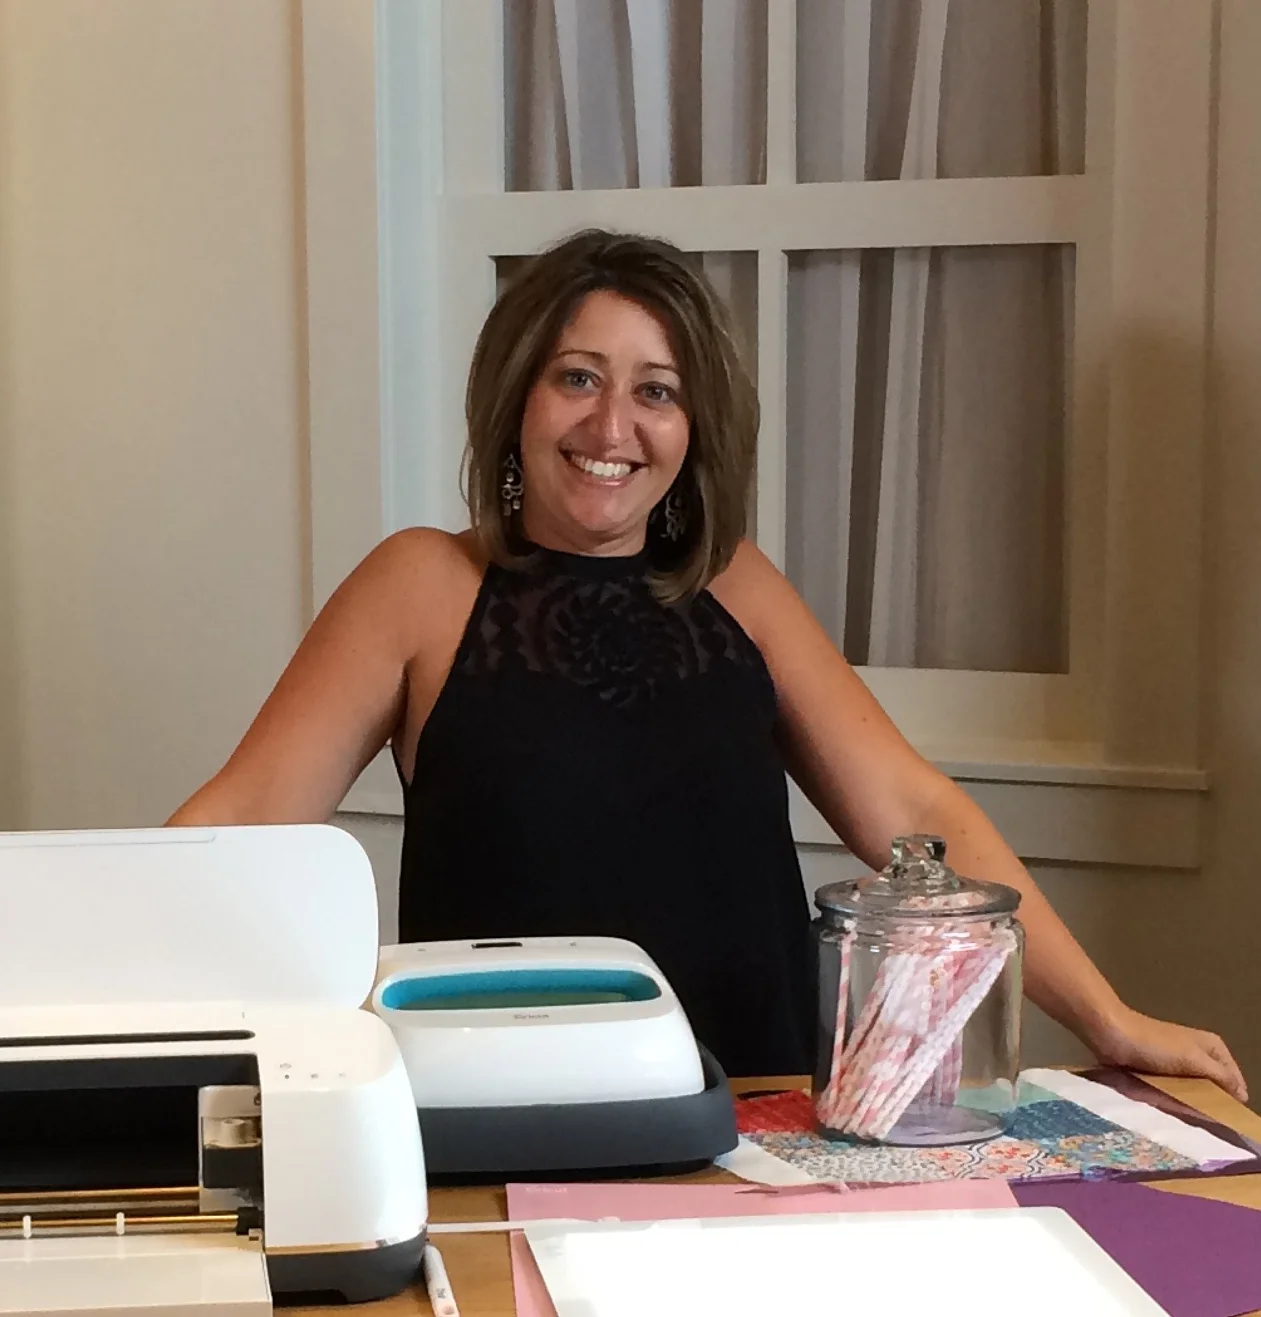
Cricut Cutting Machine (I used the Cricut Explore Air 2 Martha Stewart machine, available at Michaels)
This project in Design Space
A chalk marker

Begin by taping off the metal part of the clipboard with masking tape or blue painter’s tape.

On a protected work surface, use a foam brush to paint the entire surface of the clipboard white. Let dry completely, then add another coat. Repeat until the brown of the clipboard no longer shows through. Three coats was the magic number for me. Once the paint is completely dry, lightly sand the surface with a sanding block, then dust it off with a rag.

Use washi tape to create a design on your clipboard. Get creative and have fun here! A modern pattern like this is cool, or you could do classic stripes, rainbow stripes…the possibilities are endless!

Once your design is all taped off, begin applying the colored paints. Once again, the possibilities here are endless!!! You can use any colors that you want to literally match any space: your office, your kitchen, your kids’ rooms, your laundry room. SO. MANY. OPTIONS! Have fun with this!
The colored paints only required two coats of paint. Once you’ve applied the paint, let it dry completely.

This part is quite possibly the most fun part of the whole project: removing the tape! I don’t know what it is, but something about pulling that tape off and seeing the crisp lines underneath is so darn satisfying! You laugh at me now, but you do it and then come back and tell me that it’s not awesome! ;)
Anyhoo, once the paint is completely dry, slowly lift the tape off, one piece at a time. Now just take a minute to sit back and admire that artwork!

Alright, you’ve admired long enough, it’s time to move on, people! :)
Cricut carries Chalkboard Vinyl which would be perfect for this project, but in the middle of my project I realized that I had used up all that I had in my stash.
I did some digging through my collection and found some matte black Cricut + Martha Stewart Premium Vinyl. I pulled out my chalk marker and wrote on the vinyl to see if it would work. It did. So I dampened a paper towel to see if it would easily wipe off, and it did! The project was saved! :)
From here, open this project in Design Space and click “Make It.” Load the vinyl onto a standard grip mat, then load it into your Cricut cutting machine. Follow the prompts in Design Space to cut the vinyl.

Peel the negative vinyl away from the design, then cover with transfer tape. Use a ruler to center the vinyl onto the clipboard, then press to adhere. Peel away the transfer tape.

Now open up a drawer and toss alllll of those post-it notes in there ‘cuz ya don’t need ‘em anymore, y’all!
You can keep a running list on this super easy clipboard turned DIY chalkboard idea, and there won’t me a mess of papers laying around anymore. Just use a chalk marker to add to your list, and use a damp paper towel to erase. Over, and over, and over again. SO cool!!!
When you’re not using the marker, just tuck it inside the clamp at the top of the clipboard for easy storage.

You know what I love most about this? You can use it for anything. Need a chore chart for your kids? Make one of these for each of them! Need a place where you can jot down what you need from the grocery store? Keep one of these in your kitchen and jot it down as soon as you run out of something! Got a busy day ahead and you’re trying to keep track of everything you need to do. Yep, this board can help you remember. Who knew there was so much inspiration at the Dollar Store?!!

I hope this has inspired you to get a little more organized, and I hope you give this a try! I’d LOVE to see the designs you come up with, the colors you use, and what you use these for! Be sure to tag me on social media so I can see what you’ve created. :)
Have fun and see ya soon, Jen ❤︎