DIY Unicorn Headband Tutorial
/
Hey there, friends!
After long, long last, the day you have all been waiting for has finally arrived.
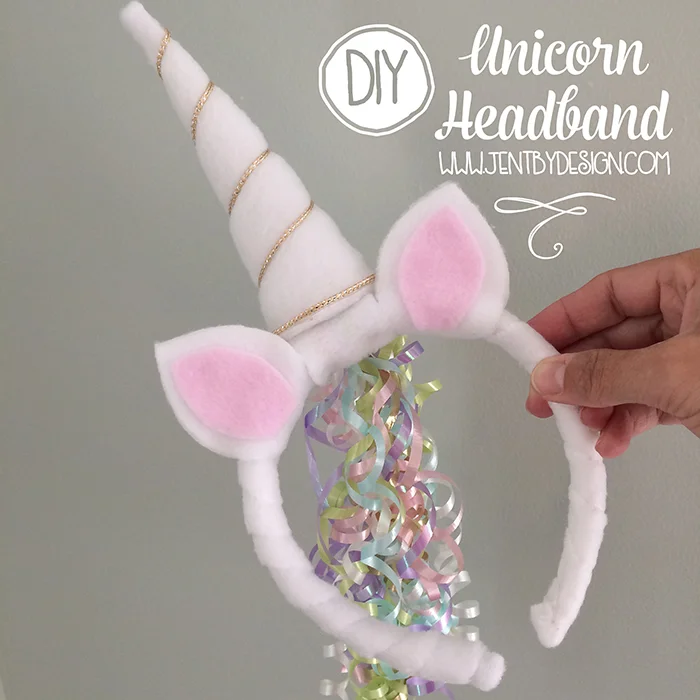
The DIY Unicorn Headband Tutorial from our Pinterest-popular Unicorn Party is here!!!
(If you missed the party, get all of the adorable details here ).
Y'all have been waiting a long time for this, so let's get right to it!
Affiliate links are included in this post, which means that as an Amazon Associate I earn from qualifying purchases, at no additional cost to you. If you make a purchase via the Amazon links in this post (like the headband link below) you will pay the same price you would pay by shopping directly through Amazon, but I will earn a small commission that helps keep my business running. More information can be found here. Thank you for your support! :)
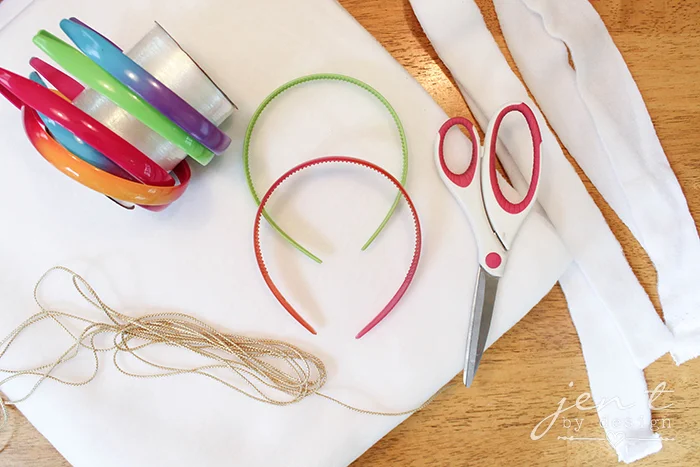
Here's what you'll need:
Plastic headbands - They don't need to be super thick, but try to get at least a medium thickness...you'll need a surface to mount the horn onto. These headbands from Amazon don’t have teeth so they may be easier to secure the fleece around, and they’re a better deal than what I paid at the dollar store.
White fleece - You could use felt, but fleece is much softer & more comfortable. I found it by the yard very inexpensively at Walmart. The amount you will need will vary based on the number of headbands you're making. You'll need enough to completely wrap each headband, to make two ears per headband, and to make one horn per headband. I made 12 headbands, purchased 2 yards of fleece, and had quite a bit left over.
Pink fleece - You'll only need enough for the centers of the ears...which is two 2-inch squares per ear.
Fiber Fill - This stuff goes a loooong way, so the smallest bag you can find will work just fine...unless you're making a boat load of headbands! You can always use the extra to make fluffy clouds for decor like I did. :)
Gold cording - Enough to wind around each horn. I just bought a skein I liked for a couple of dollars and it was more than enough.
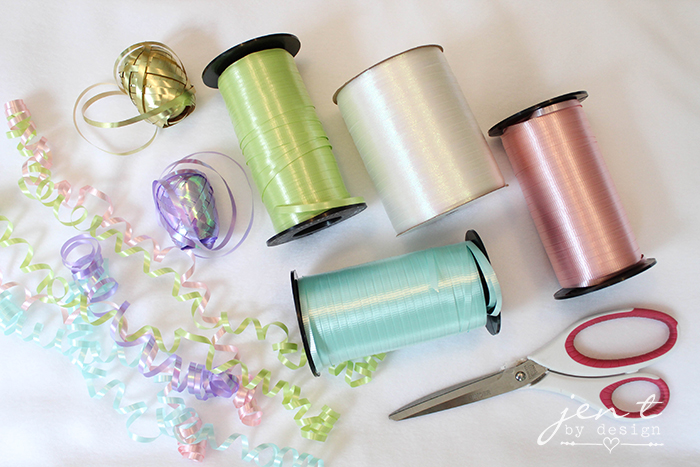
Curling ribbon - This is the fun part! Pick a variety of any of your favorite colors! I used 6 colors, two lengths per color, per headband.
Scissors
Hot glue gun and glue
How to make the Unicorn Headband:

Cut the white fleece into 1-inch strips. I think mine were 1" x 16," but your length may be a little different based on the size and width of your headband. It would be a good idea to cut one test strip and wrap it around the headband to determine the length you will need. Once your length has been determined, you will need one strip per headband.
Secure one end of the strip to the inside bottom of the headband using hot glue, leaving some overhang on the end as shown in image #1 above. Continue to wrap the fleece around the headband, overlapping the layers, and securing with hot glue here and there along the way.
Once the headbands are completely wrapped and secured, fold the raw ends up to the inside edges and secure with hot glue. If your leftover ends are long, you may want to trim them a bit before securing.

The curling ribbon will serve as the "tail" of the headbands. The length of the tail can be determined by you, just remember that once you curl the ribbon, it will shrink up. You'll want it to be long enough to be curled, tied around the center of the headband, and hang down to about the bottom edges of the headband.
Once again, I suggest you practice with one test piece to get an accurate length that works for you, and then cut the rest of the ribbon to that size. I used 6 colors, two lengths per color.

Once your ribbons for one headband are all curled, gather them together. Center them on the top center of the headband, making sure the tails hang evenly on each side, and tie into a knot. Pull the knot to the side of the headband, as shown above.

Cut some white fleece into 1 1/2-inch by 3-inch rectangles...one per headband. Make sure that the rectangle will wrap fully around the width of the headband.

Cut a slit in the end of the fleece just long enough for the fleece to wrap around the knot of the curling ribbon and meet in the back. Be sure to ONLY make the slit long enough to cover the knot, otherwise the visible sides of this piece will show the cut. Secure with hot glue. Wrap the other side of the fleece around the headband to meet the slit end. Cut excess, if necessary, and secure with hot glue.
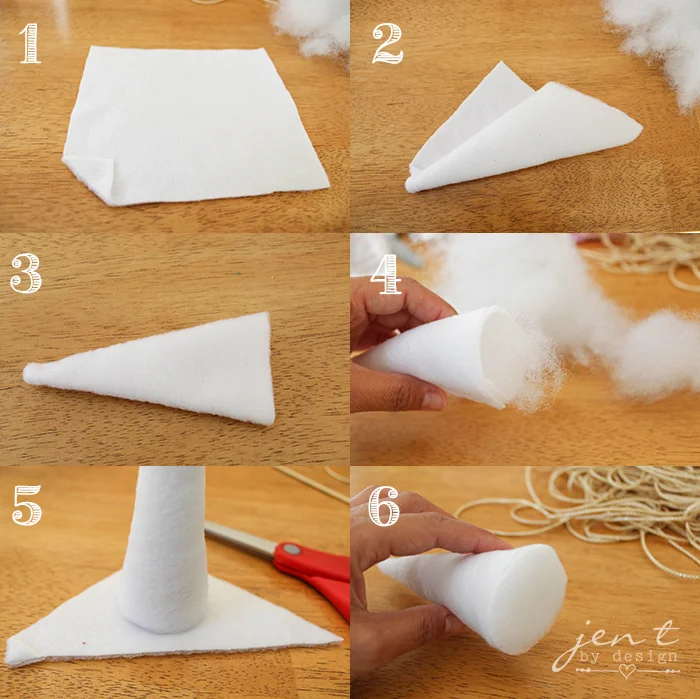
Now to make the horn! Cut one 5" square of white fleece for each headband. Fold one corner over about 1/2-inch (image #1 above), and secure with hot glue. Beginning at one side of the fold, roll the fleece toward the opposite side to form a horn shape (image #2). Cut excess and seal with hot glue. Cut the bottom edge with scissors to form a straight edge (image #3). Stuff Fiber Fill into the horn until nice and plump. Be sure to get all the way to the top of the horn.
Place the horn onto a scrap of fleece, fleece side down (image #5). Trace the horn onto the fleece with a pen, then cut out the circle. Hot glue the circle, fleece side out, to the horn, being sure to seal the edges well (images #6).
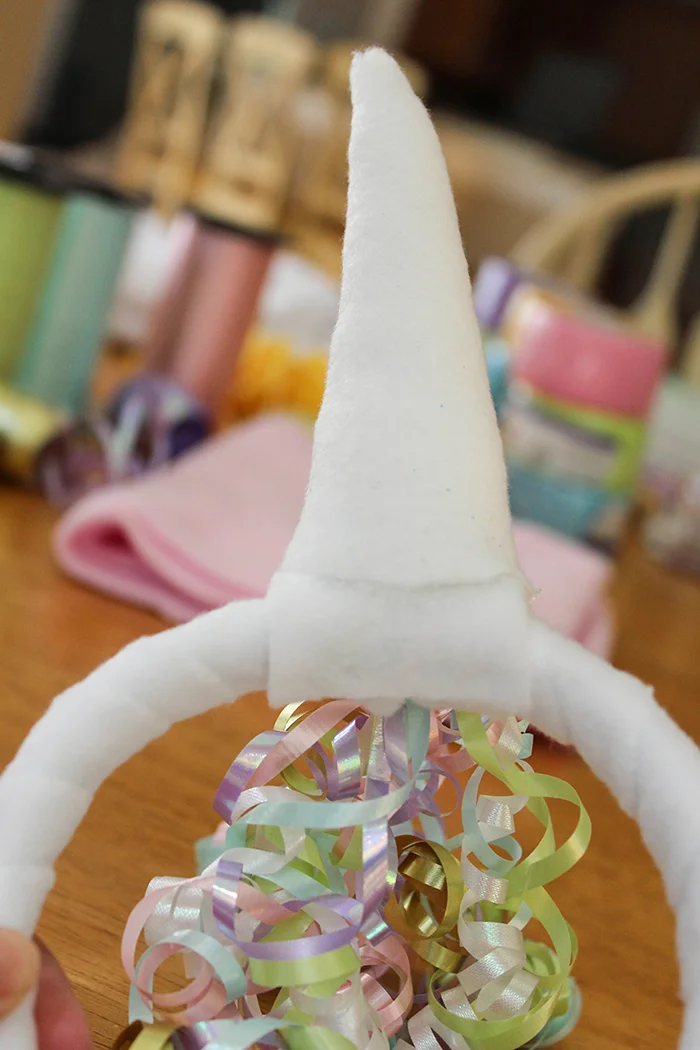
Hot glue the horn onto the headband, making sure the seam faces the back toward the curling ribbon.

Beginning at the seam of the horn, wrap the gold cording around the bottom edge of the horn to cover the seam, securing with hot glue, then work your way up toward the top of the horn in a spiral motion.
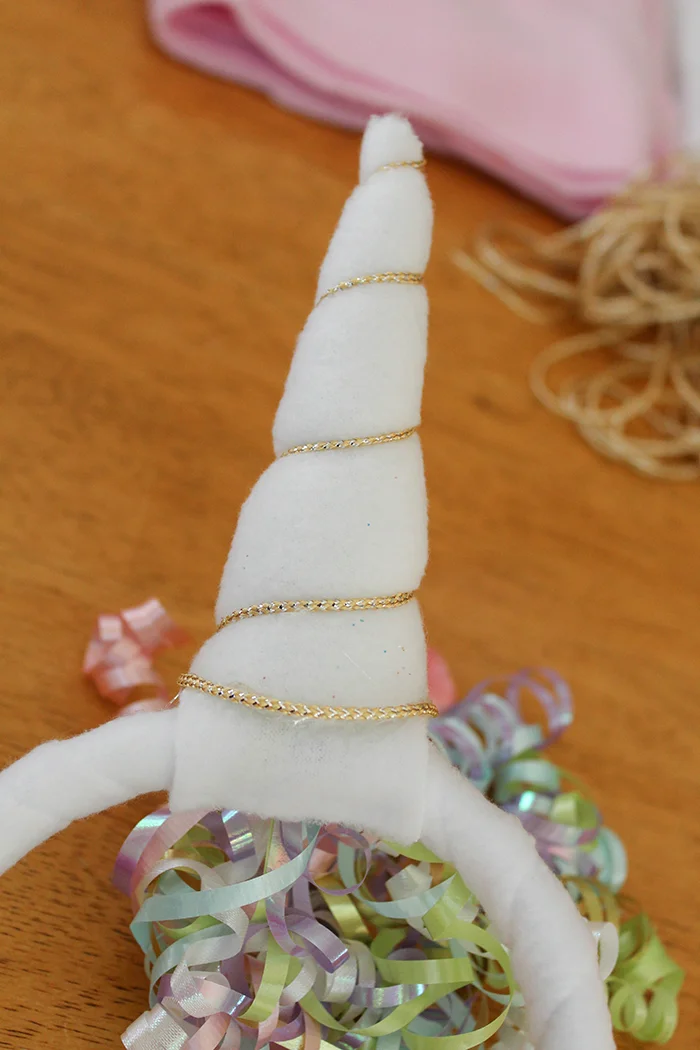
I pulled my kind of tight to give the fiber fill a "pillowed" look. Cut the cord and secure with hot glue.

Draw a 2 1/2-inch tall ear shape onto a piece of paper. Fold the paper in half almost at the base of the ear, leaving about 1/4-inch between the bottom of the ear drawing and the fold. Starting at the fold, cut a straight line to the bottom of the ear, then cut out the ear, and another straight line back down to the fold. You should end up with a shape similar to image #1 above. Trace this shape onto the back side of the fleece, and cut out two per headband.
Draw a smaller ear shape for the inside of the ear (image #2). Cut it out, and place it onto the white fleece to be sure you're happy with the shape and size. Trim, if necessary, and then trace onto the back side of the pink fleece. Cut out two per headband.
Fold the white fleece ears around the headband on each side of the horn. Secure with hot glue (image #3).
Glue the pink fleece onto the front of the white fleece ears (image #4).
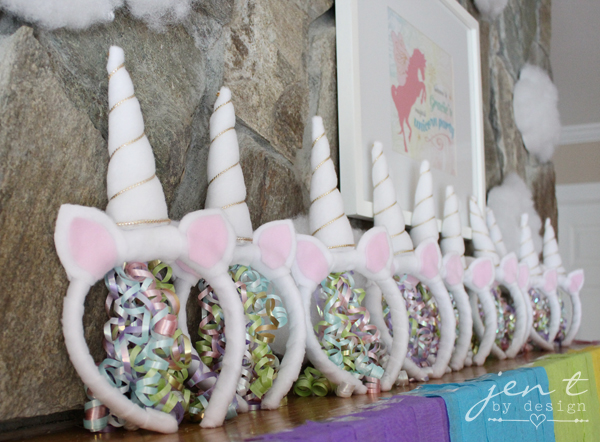
And there you have it! Soooooo super cute!
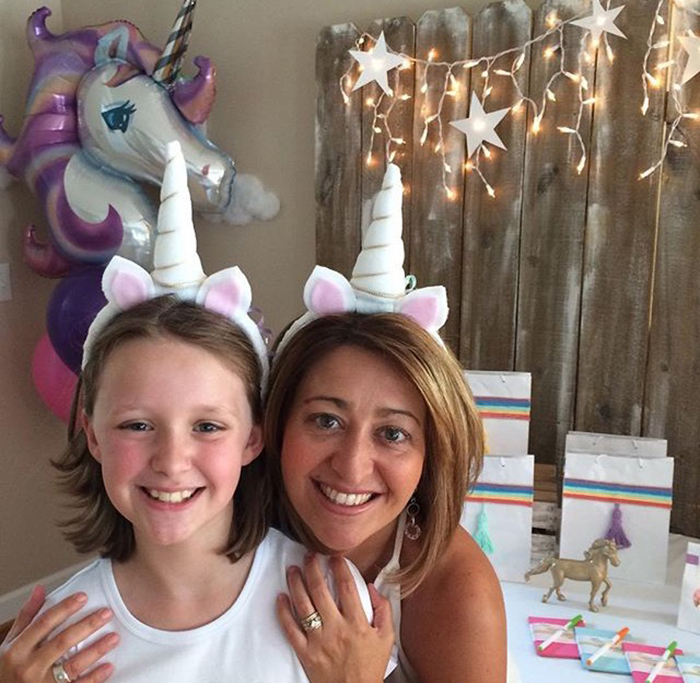
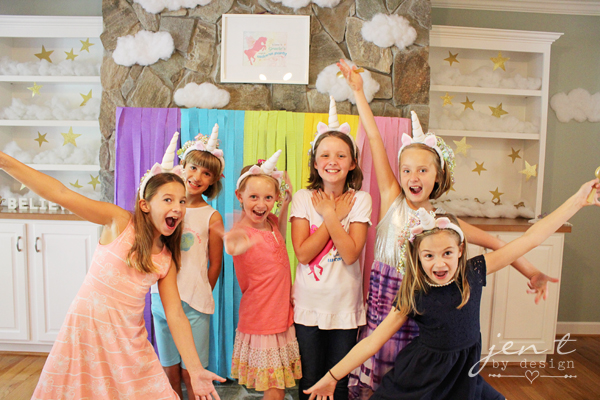
The kiddos absolutely loved them, and so did the grown-ups! I hope YOU enjoy them, too! :)
If you like these ideas, please "Like," "Pin," "Share" or "Tweet!" Or, you can just shout it from the rooftops, if that's your thing. Thanks bunches!!! :)