Cricut Project Ideas

Just in case you’re one of the few people who hasn’t heard me shouting it from the rooftops, we have a grandbaby on the way!!! Our daughter got married last year and is pregnant with our very first grand little and we couldn’t be more excited!
With her due date fast approaching, and with Mother’s Day right around the corner, I wanted to give my “soon-to-be-mama” baby girl something special to celebrate this incredible time in her life. You know I’m all about personal touches, so it will come as no surprise to you that I chose to “Cricut up” some custom goodies for her. What might surprise you, however, is what I used to do it!
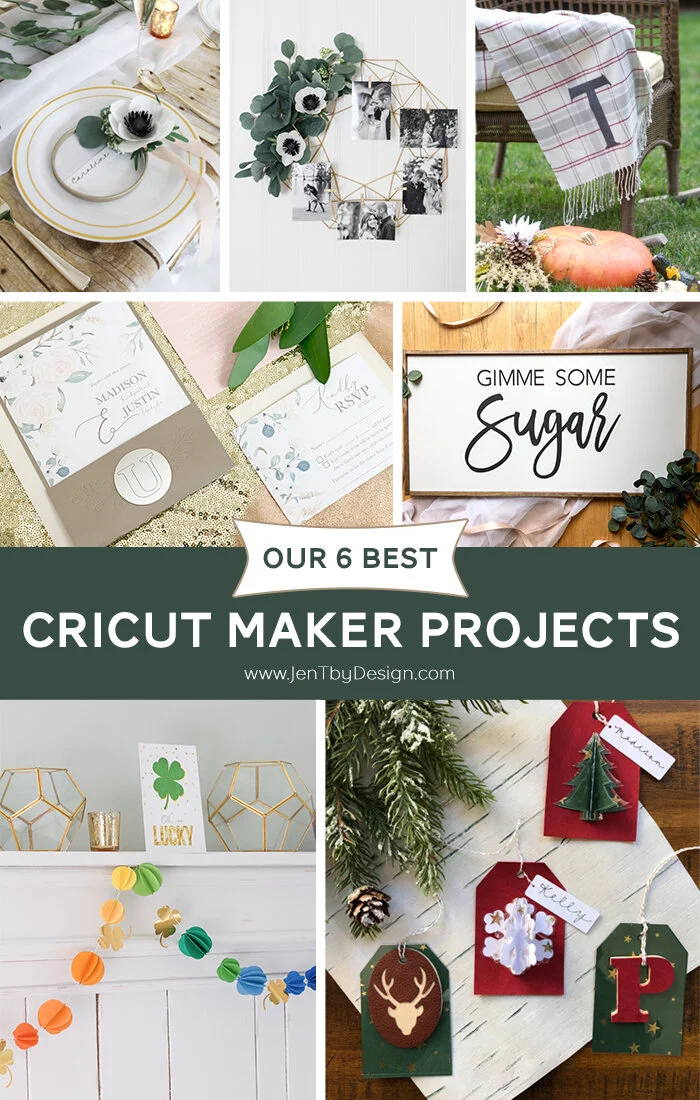
If you’ve followed me for any period of time, it will come as no surprise to you that the Cricut Maker is my most favorite crafting tool that I own. It has helped me bring to life countless ideas, it’s helped me create custom, gorgeous, dream weddings for two of our kiddos, and it’s unveiled so many creative possibilities that I could only dream of before!

Your little girl will be the cutest clover in the patch when she sports this adorable DIY Sassy Little Lassie St. Patrick’s Day Shirt! Whether you’re heading to a St. Paddy’s Day celebration or just want your little one to show off her sassy spirit, this shamrock shirt is just too cute to resist. We created it for a St. Paddy’s Day Shenanigans Party and it was the perfect attire! Take a peek below for step-by-step instructions for creating one of your own.

Do you have a friend that’s always there for you when you need her, or a gal pal that might need a little pick-me-up this Valentine’s Day? Why not show her a little love and surprise her with this cute Galentine’s Day gift idea!
All you need to whip this gift together is an insulated bottle, our free printable Valentine’s Day tags and about 15 minutes to cut and apply some vinyl that you probably already have on hand. Easy peasy, affordable, and so cute! Get the quick “how to” below.

I’m a lover by nature, so anything Valentine’s Day related gives me all the happy feels. :)
What breaks my heart, however, is that we parents spend an outrageous amount of cash on classroom Valentines that just get a quick glance and then end up in the trash can. What a waste, right?
I decided that I wanted to come up with some Valentine’s Day Classroom Gifts that would actually be useful and might stick around for a while. So, I pulled out my Cricut Explore Air 2 and created some interactive Valentines that the kiddos can actually use…and they turned out pretty darn cute!
Take a peek below for two easy Valentine’s Day DIY Gifts that the kids will love!

Football game? What football game? When it comes to the Super Bowl, I am there for the snacks, y’all! Man, how I love football food! Warm + gooey dips, sticky chicken wings, savory sliders, super soft pretzels with cheese sauce…yum, yum, YUM! And it’s always greatly appreciated if everyone could keep quiet when the awesome commercials come on…please and thanks.
Anyone else feel the same? If so, this DIY Super Bowl Shirt is for you! You can make this baby for sooooo much less than a fancy football team jersey will cost ya, and you can wear it year after year, no matter what teams made it to the big game. That’s a win, if you ask me! Scroll down to learn how to make this shirt in a jiffy using your Cricut machine.

Baseball hats are basically part of my every day attire. Chances are, if you see me out and about running errands or if you pop by my house on any given day, you’ll catch me wearing a hat.
I’ve really been digging the State Pride Hat trend lately, but I haven’t been able to find a Virginia one that I love.
I thought about making my own with my Cricut machine and EasyPress, but because the front of the hat doesn’t lay flat, ironing the vinyl onto the hat with the EasyPress wasn’t really going to work well.
Then, almost like they were reading my mind, Cricut announced that they were releasing an EasyPress Mini!

The thing I love most about weddings is seeing how the bride and groom’s personalities and interests get infused into the wedding decor. It’s so cool to see all of the different styles and decorating ideas customized to fit the couple, don’t you think?
If you’ve been following along with me at all, either here on the blog or on social media, you know that we had two of our kiddos get married within 7 months of each other over the past year. It’s been a whirlwind year to say the least!
We used the heck out of both my Cricut Explore and my Cricut Maker to create absolutely perfect wedding decor for each kiddo’s special day…customized to fit each of their personalities. It’s those little, customized details that make the celebration so special!

This year for Mother’s Day, I thought it would be cool to kick it back to the elementary school days and create something from the heart. With the help of my Cricut Explore Air 2, Martha Stewart Special Edition, I was able to do just that! This DIY Mother’s Day Candy Flower Bouquet fits the bill perfectly. This gift is full of thoughtfulness and love, but it’s also full of chocolate, so you’re gonna win Mom over big, for sure! :)
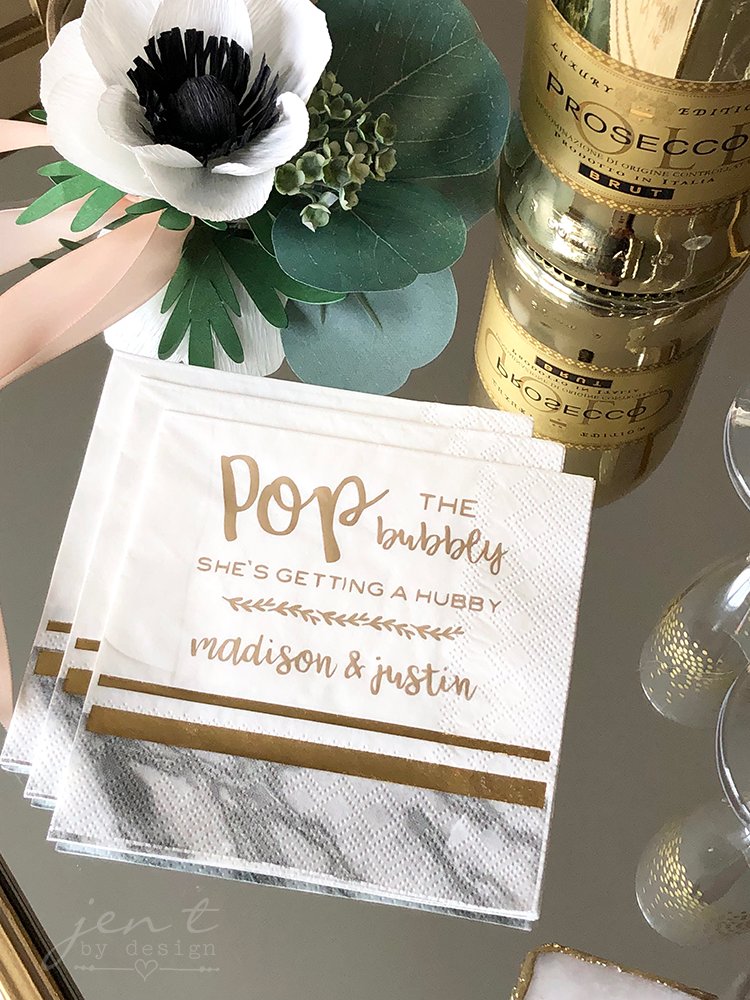
We’re eleven weeks out from my daughter’s wedding and we’ve been busy, y’all! Every few weeks my bride-to-be, some of the girls in her wedding party, my mom, my daughter’s stepmom and my sister all come over to my house and we craft the day away. We’ve been making all kinds of goodies for the wedding! My house totally looks like a sweat shop with all those girls crafting in here. :) I seriously can’t wait to see how it all comes together on the wedding day!
In the middle of all the wedding planning, we’ve also been prepping for her Bridal Shower and a Bridesmaid’s Brunch. So much is happening I don’t even know which end is up. It’s crazy town over here!

How did we ever survive before post-it notes? I literally have them everywhere in my house reminding me of the gazillion, trillion things that I never can seem to remember on my own.
In an effort to get more organized (and maybe save a few hundred trees), I decided to find a way to ditch the paper notes and come up with a better way to keep track of that never-ending “to do” list.
Now, I know that I can use my phone or computer to keep reminder lists, but if you’re a visual person like I am, you perform much better if you can actually see the list.
When I was picking up some poster board at the Dollar Store last week, I spotted some clipboards on the shelf and a light bulb went off in my head. I had gotten a shipment of fun-colored Martha Stewart paints in the mail a week earlier...what if I used those paints to jazz up the clipboards and used those to keep my lists organized? Cricut carries Chalkboard Vinyl, so I could cut some of that, put it on top of the paint, and have a super cute new DIY Chalkboard to replace all those post-it notes.
Y’all! They turned out SO CUTE!!! Get the easy, fun DIY below.
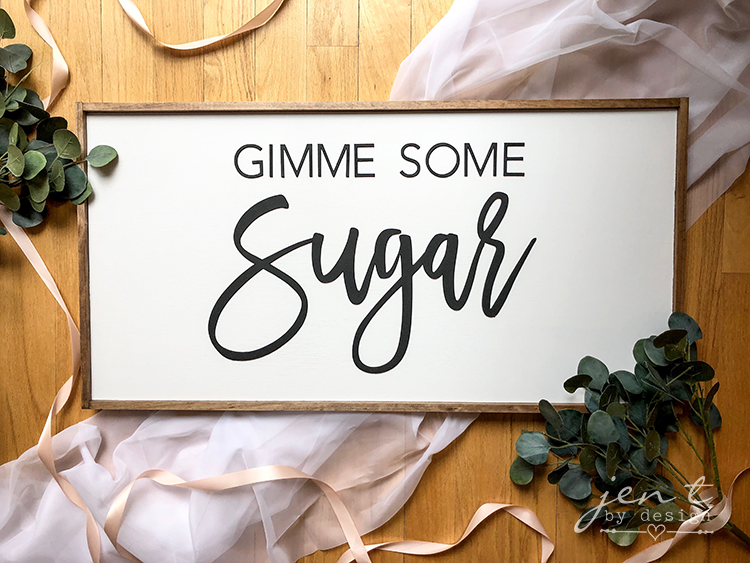
I guess I should start this DIY Wooden Farmhouse Sign post by telling you (if you didn’t already know) that our oldest son got married in October. ❤︎ If you follow me on social media, you’ll also know that a few months after he got engaged, our daughter got engaged. Her wedding is coming up in June. Between TWO kiddos getting married within the course of a year, a busy work schedule, and trying to have a life, needless to say it’s been a little hectic around these parts!

If you’re planning a St. Patrick’s Day Party or if you’re looking for some cute St. Patrick’s Day decorations for around your house, I’ve got the cutest idea to share with you today! This adorable little DIY Rainbow Garland is modern, fun, and perfect for party or home decor!
I’ll be honest. I do a lot of projects for work that I either end up giving away or donating because I just don’t have the room to store them all. Every once in a while I’ll keep the really special ones because I can’t bring myself part with them. You guys, this one is a keeper! It is sooooo darn pretty in person…I can’t stop lovin’ on it!

Do you decorate for Valentine’s Day? I don’t know about you, but when all of the Christmas decorations come down, I feel like the house looks so empty and blah! Adding a little bit of life back into the decor for Valentine’s Day seems to perk things right back up.
Embroidery hoop crafts are all the rage right now, so I thought it might be fun to give this trendy craft a Valentine’s Day twist. With just a few materials, I was able to whip this Valentine’s Day Embroidery Hoop craft up in a jiffy, and I’m gonna show you how you can, too!

Hey y’all! I’m back again with another project that I created in collaboration with Cricut, Michaels, and Martha Stewart, and I can hardly wait to share this one with you!
It’s fast, it’s affordable, and it’s so darn cute!!! I’ll give you the full “how to” for this DIY Stocking Idea below, but I hope you’ll use it as a baseline to get your creative juices flowing. The possibilities are endless here!
Obviously, most people personalize stockings to hang in their home, but think outside of the box, too! In this case, I used the stocking as gift wrap.
The holidays can be super stressful, and I thought my girlfriends might want some wine to help them cope through the craziness. I gussied up a simple stocking using my Cricut Explore Air 2 Martha Stewart Bundle and the brand new Cricut EasyPress 2 Martha Stewart Edition, tucked some chocolate and wine inside, and voila! A sanity-saver in a stocking! ;)
This would also be a great gift for neighbors, Christmas Party hostesses, your boss…heck, anyone really. The point is, don’t be afraid to add your own spin to the personalization (there are a slew of fun options in Design Space), or even the gift inside. It doesn’t have to be wine…it can be anything!

I absolutely love wrapping pretty gifts to go under the Christmas tree! If you ask my family, they may even tell you I’m a little obsessive about it. But there’s something so special about receiving a beautifully wrapped present, isn’t there? I mean, if there were a dozen gifts under the tree, and only one of them was tied up with a pretty ribbon and tag, wouldn’t you wish that the jazzed up one was for you? Exactly. Plus, the gifts under the tree are basically house decor until they get opened, so why shouldn’t they look nice? I know y’all get me. My family just doesn’t know any better. ;)
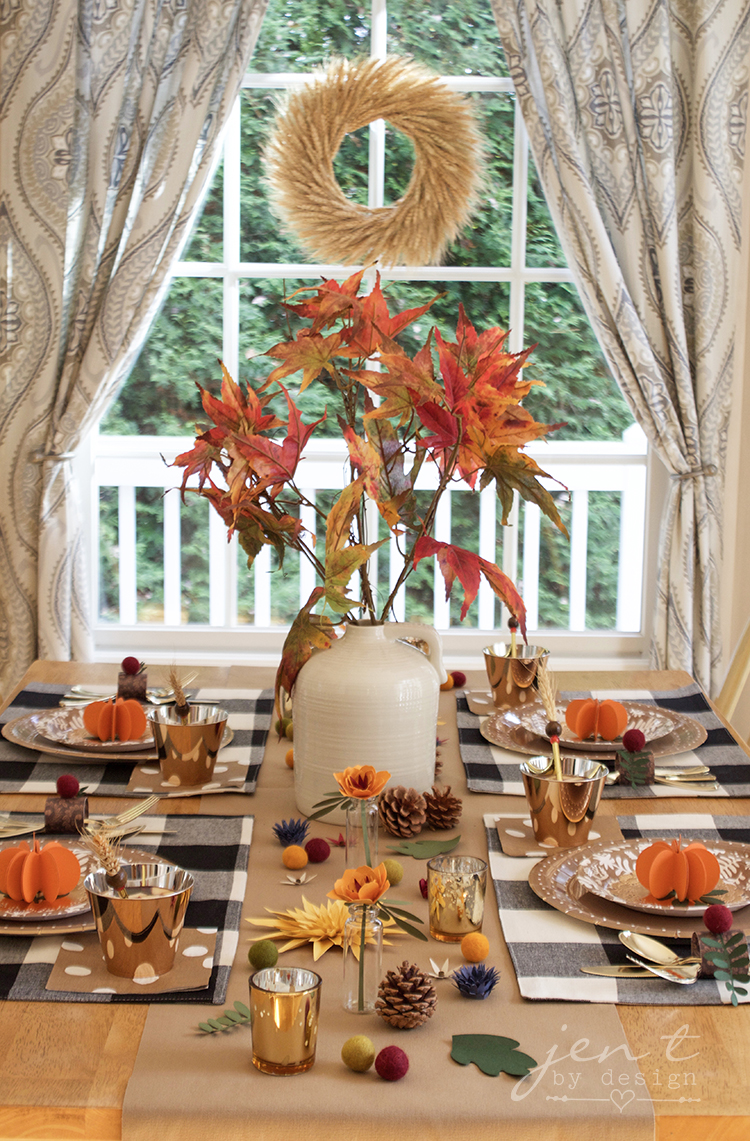
Happy almost Thanksgiving, y’all! The day to eat all the things is almost here…do you have your stretchy pants ready? I sure do! ;)
I’m super excited to share my latest collaboration with Cricut, Martha Stewart, and Michaels with you because I think you’re gonna love it! If you’re mad for plaid and like to get a little crafty, this Buffalo Check Thanksgiving Table is for you!

Grab your ghouls and ghoul-friends because this Spooky Halloween Dinner Party is one they won’t want to miss! If you’re looking for a casual way to celebrate Halloween with your friends, this ghastly gathering is for you!

Bust out the Aqua Net, shoulder pads, and jelly shoes…we’re bringing the 80s back, baby!
This “Bad to the Bone” 80s-Inspired Halloween Party was so much fun to plan! Bright colors and abstract art elements + skeletons and pumpkins = an 80s Halloween Party that is totally rad…and bad…to the bone. ;)

What’s black and white, and magical all over? This adorable Unicorn Trick or Treat Bag!
If your little ghoul is a unicorn lover, this DIY is for you! With the help of a Cricut cutting machine and the new EasyPress 2, you can transform a plain canvas bag into a cute Halloween treat bag that can be used year after year. Oh, and ya might just win Mom of the Year, too. ;)

Wanna surprise your pals, coworkers, or your kids’ teachers with a fun little Halloween treat? This DIY Halloween Sugar Scrub Gift Idea is sure to do the trick!
We all love a little pampering every now and then, so sugar scrub makes a wicked cool Halloween treat. Tint it to look like candy corn, and it’s just boo-tiful!
To kick it up a notch and make it even more spooktacular, personalize the jars with a sassy saying. I used my Cricut® Explore Air™ 2 Special Edition, Martha Stewart Machine Bundle to jazz up the jars with some fun personalization. If you’ve been following my blog and have seen my “Mint to Be” Baby Shower or my “She’s a Succa for Him” Succulent Bridal Shower, then you know how obsessed I am with my Martha machine.
It can cut over 100 different materials at twice the speed of previous models, and the bundle (which is available exclusively at Michaels) includes twenty-five exclusive Martha Stewart images. This is in addition to the thousands of ready-made projects and images that are available in Cricut’s Design Space! There is so much fun to be had with this bundle!!!
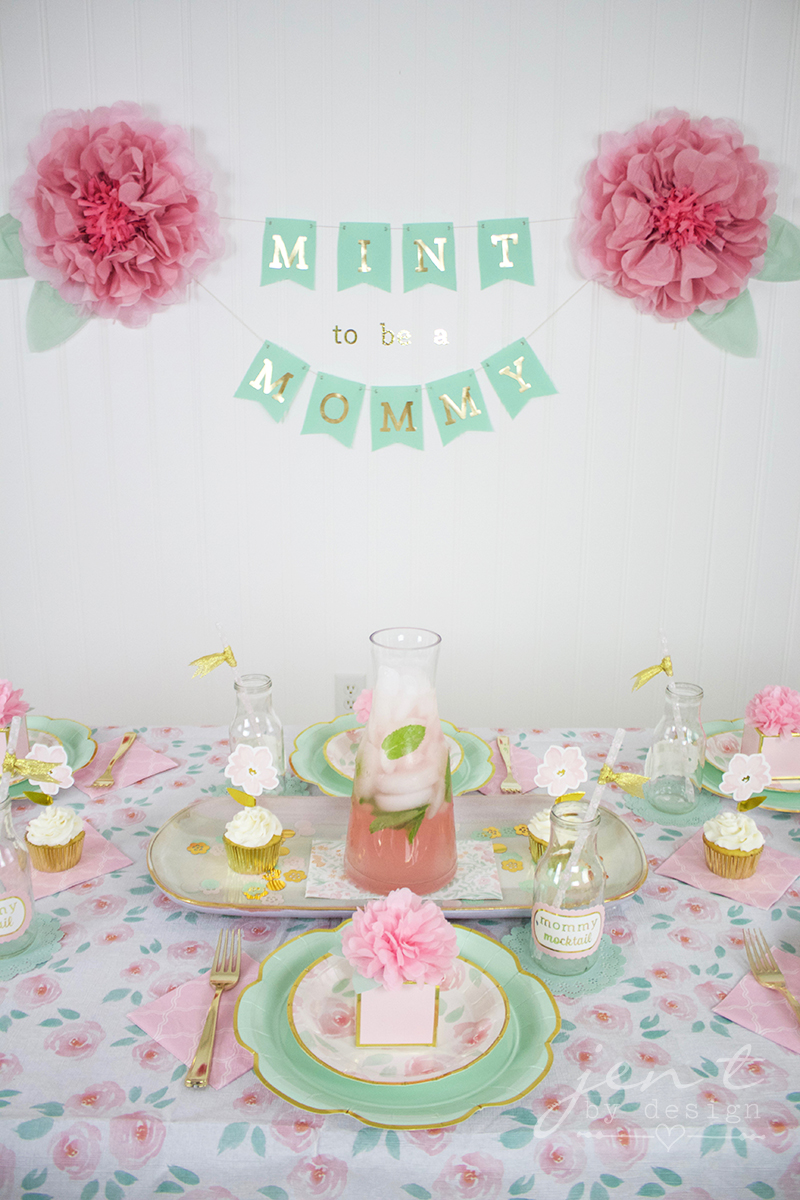
Do you know a mama-to-be that was meant to be a mommy? Then you are going to love this "Mint to Be" Baby Shower theme! I am so excited to share this party with you. It's my latest collaboration with Cricut, Martha Stewart, and Michaels, and it's full of beautiful colors and easy ideas that you can recreate at home, which will make planning your baby shower a breeze!
When it comes to color combos, you just can't get much prettier than mint and blush! The Mint and Blush Martha Stewart Collection has a gorgeous array of party goodies that are so soft and delicate...just adorable for a baby shower.
You guys know I can't resist a good play on words, so the pretty shade of mint in these goodies created the perfect opportunity for me to get a little punny, thus the "Mint to Be" Shower Theme was born!
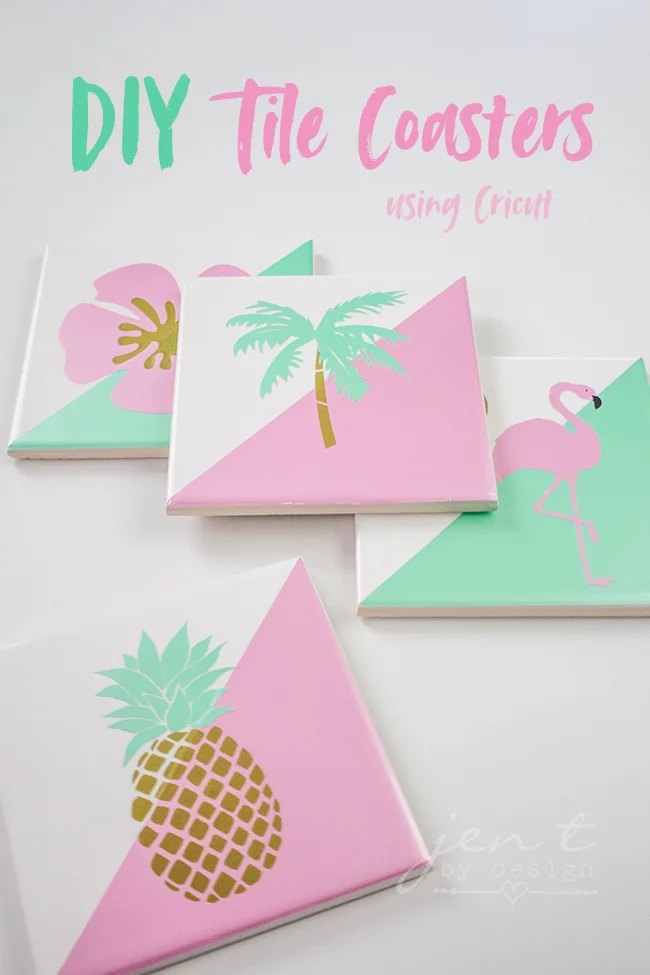
Summer is in full swing, and I don't know about where y'all live, but here in Virginia it's been hot! We've definitely been doing our share of summertime sippin' to keep cool, but you won't hear me complain about that. ;)
In the spirit of sippin,' today's post is a super cute, summer-inspired project, which just so happens to be the perfect resting spot for your summer sips...DIY Tile Coasters.
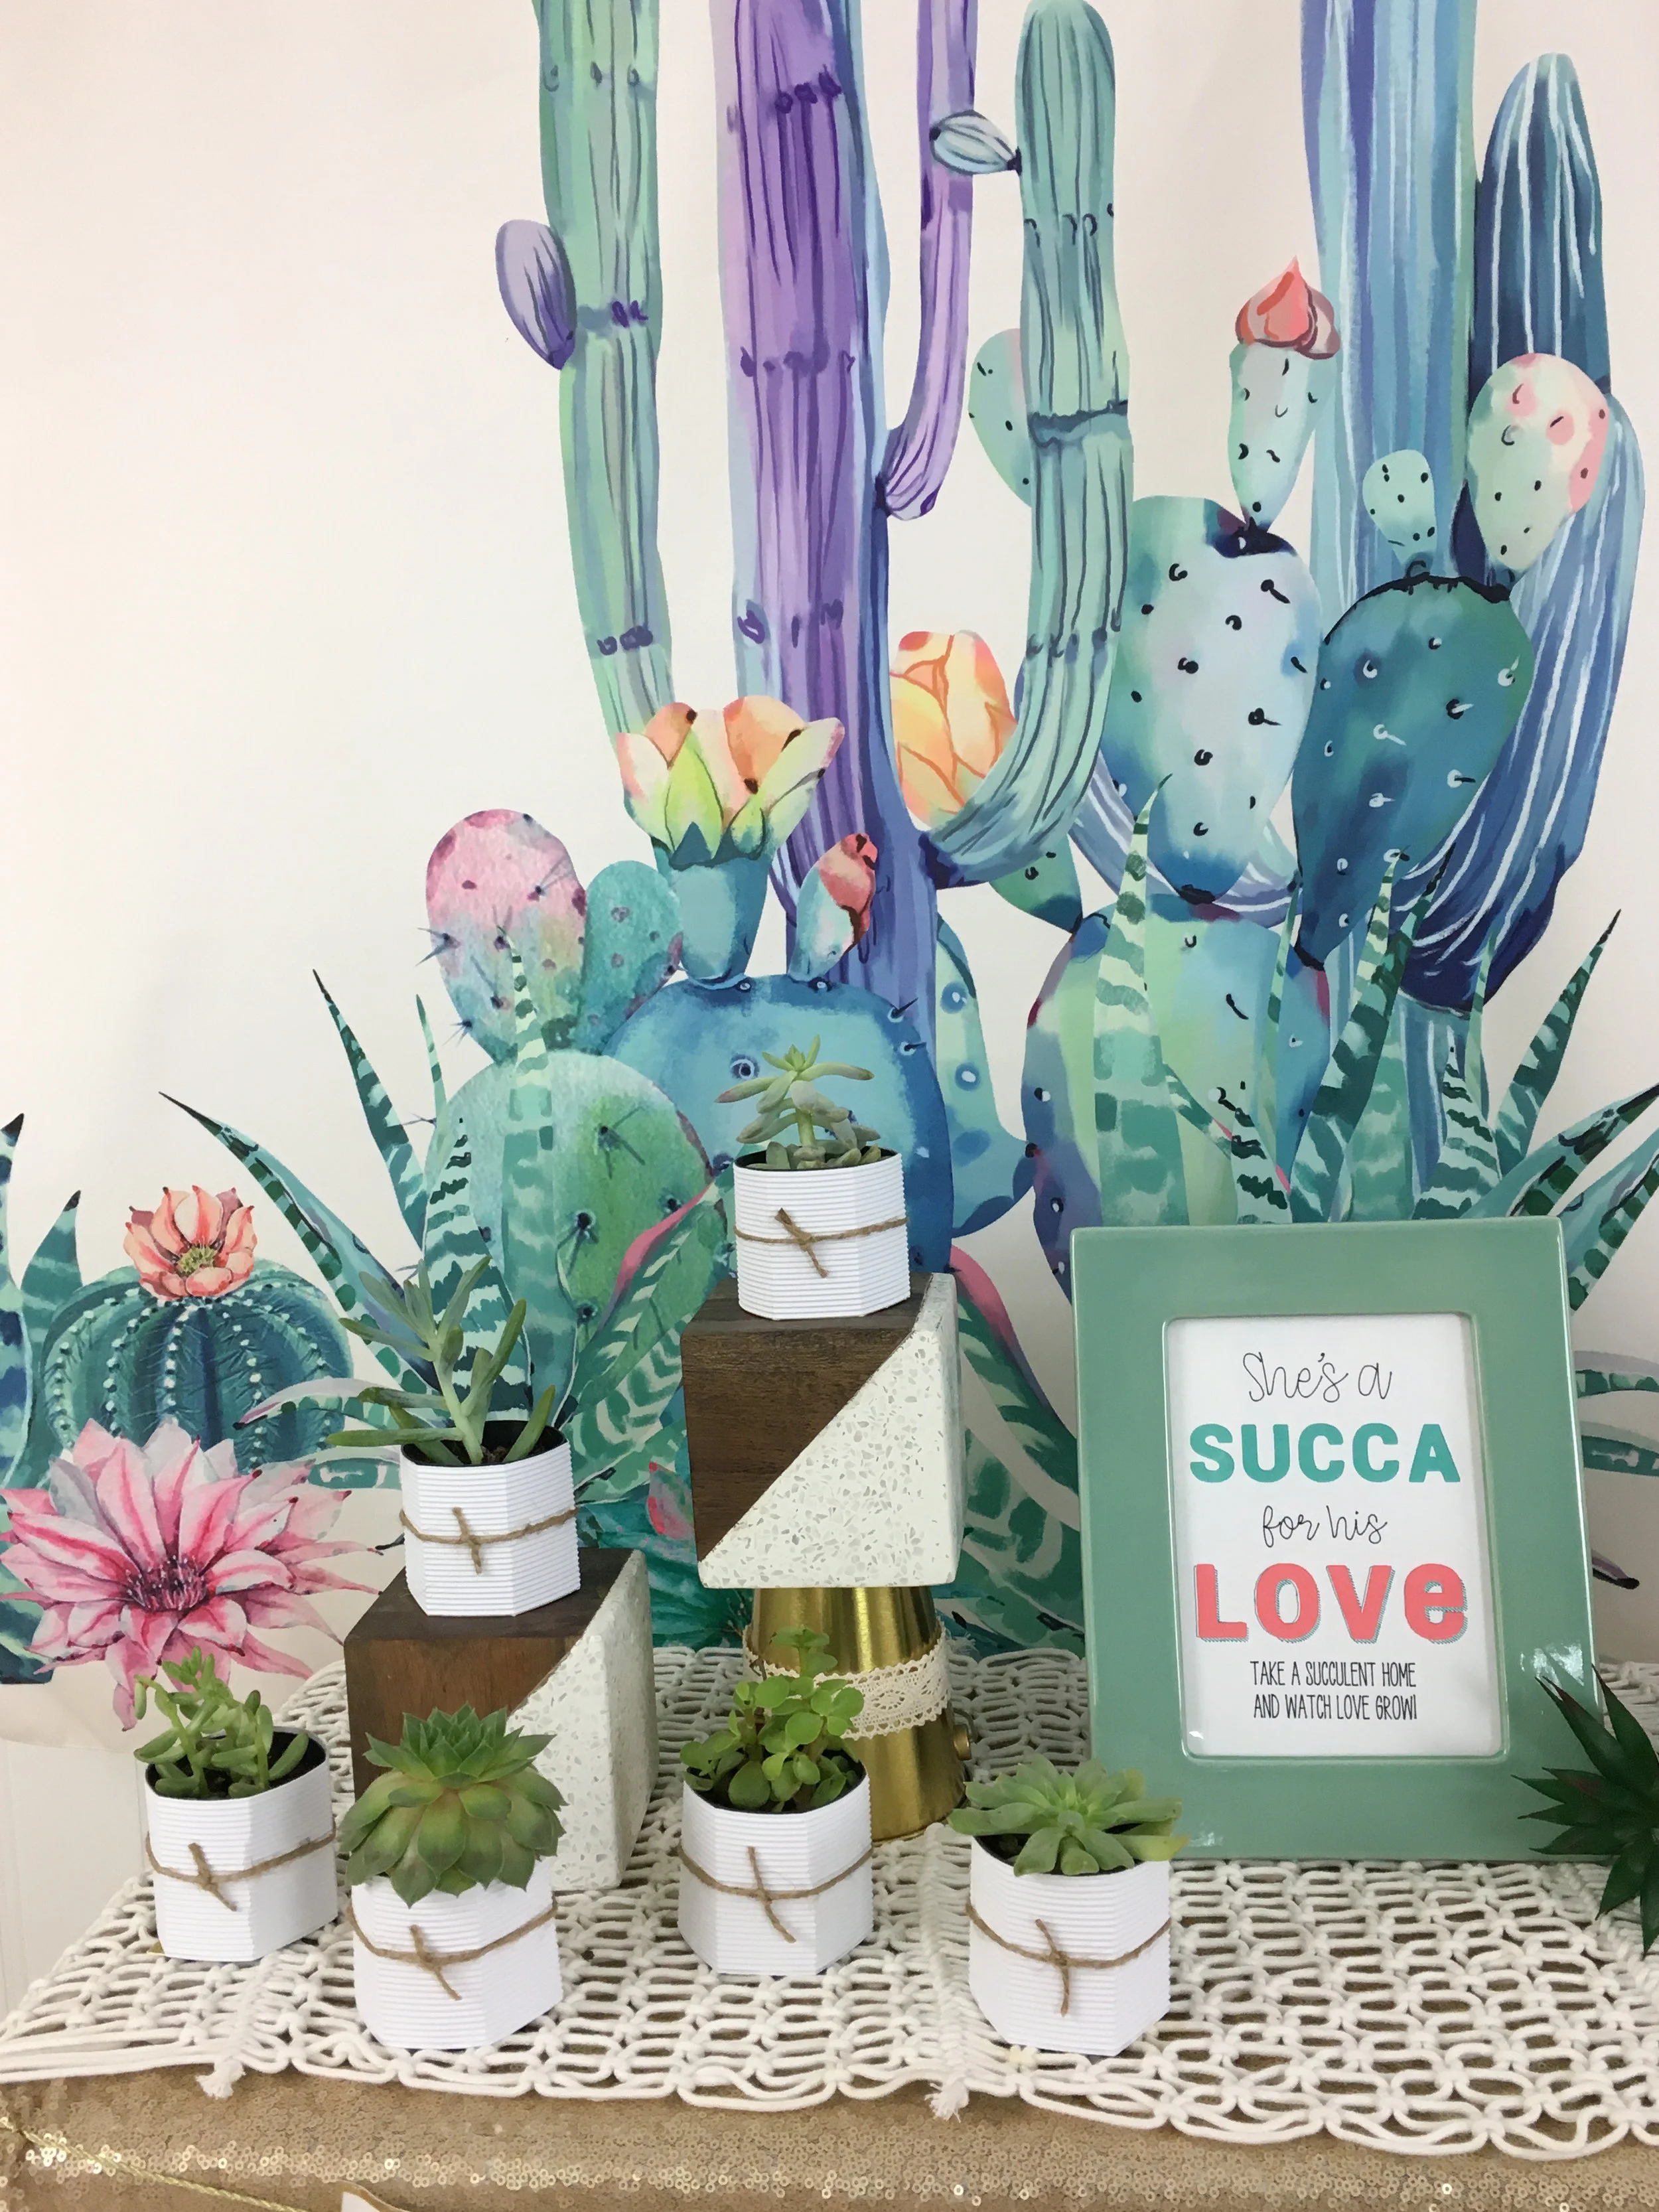
Hey guys! If you caught my last blog post, then you know that an epic collaboration is going down between Cricut, Martha Stewart, and Michaels, and you know that I am one of the lucky gals who gets to work with them and create fun party inspiration for YOU as a result!
I have been having so much fun creating and styling with these goodies, and I'm super excited to share my latest project with you, a Succulent Bridal Shower!

Once upon a time, three fabulous, very well-known brands joined forces for a dynamic collaboration. A girl (who isn't very well-known and works at home in her pajamas) was asked to be a part of it. The girl, realizing what an unprecedented opportunity this was, fainted, came to, then excitedly got to work on the most fun partnership ever...kicking off the celebration with this Celestial Graduation Party!
You guys, I have been holding this secret in for months, and I'm SO EXCITED to finally spill the beans!
CRICUT, MARTHA STEWART, AND MICHAELS have all joined forces and have released an exclusive line of phenomenal products that are truly incredible...and I get to help them share it with you!
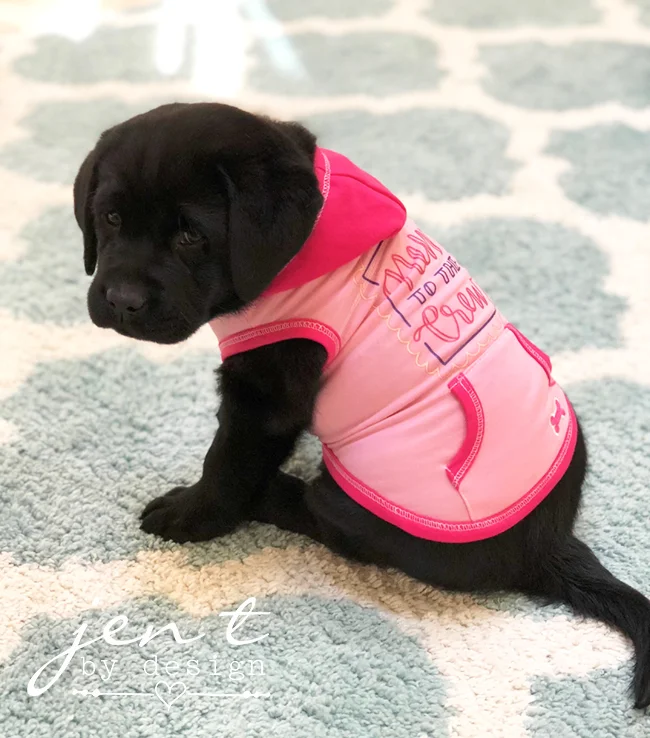
Y'all. Our family has grown, and we are in LOVE!!!
Meet Banks, our daughter's new English lab puppy {and our newest obsession}! She is sweet, fluffy, curvy, and so darn adorable! (I mean, just look how she fills out that outfit...can you even handle it)?!!
And while we're talking about the outfit...is it not the cutest?!!! You guys, I made it, in minutes, using the new Cricut Iron-on Designs!

Bring on the chippin', dippin,' and margarita sippin' y'all! Cinco de Mayo is on it's way, and I can't wait! To celebrate the occasion, I created a fun little DIY Cinco de Mayo shirt, and it turned out so cute that I thought I'd share it with you. :)
All of my loves collided for this project, and I am obsessed.
What's got me so excited? Well, I got to use my Cricut Maker and Cricut EasyPress, which always make me happy. Then, I got to use the new Cricut EasyPress Mat, which is so convenient. But then, y'all...then...are you ready for this? I got to use the newly released Cricut Patterned Iron-On! They didn't release just any old patterns either, y'all. They released adorable patterns...including my absolute FAVE...watercolor iron-on!!!!!
This is a total game changer, you guys! We can mix and match patterns to create one-of-a-kind designs! I mean, just look at that cactus. The pattern on the iron-on adds so much more to the design!!!
The possibilities are endless, too. You can make fun shirts like this. You can use it on throw pillows in your home decor. How about making Mom a fun tote for Mother's Day? So darn exciting!!!
All in all, there are 9 sampler packs of patterned iron-on to choose from, each with three 12" x 17" sheets in three different designs, so there is something for everyone! I already have a list of things I want to make, but for now, let me walk you through making this fun Cinco de Mayo shirt!
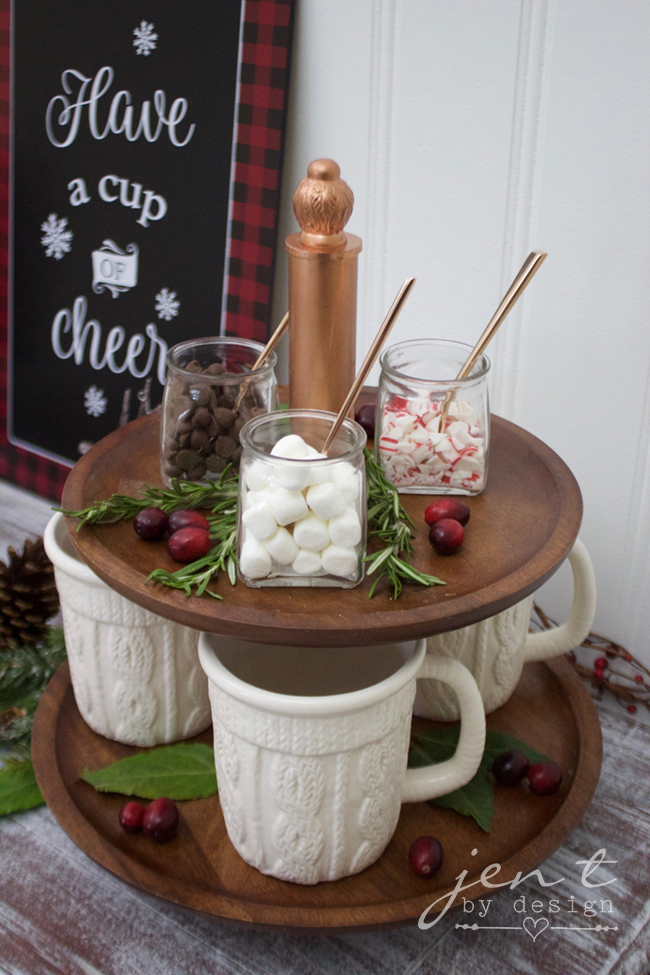
I am not a cold weather girl. As soon as the temps even come close to dipping below 50 degrees, gimme cozy blankets, fires in the fireplace, and hot cocoa...lots of it!
When I saw these sweater mugs and buffalo plaid to-go cups from Oriental Trading, I thought they'd be great for setting up a Hot Cocoa Bar that could last all through the cold weather season.
I love the idea, cuz no matter what you've got going on, hot cocoa is always at the ready!
If you're staying in, grab a sweater mug and cozy up. If you're heading out, grab a cute disposable cup for the road. Perfect, right?

Santa isn't the only one who loves milk and cookies, ya know. If ya ask me, milk and cookies should be served nightly throughout the Christmas season, and this fun DIY Christmas Milk and Cookies Tray helps you do just that!
I scored this adorable, rustic tray at JoAnn a few months back, and have been holding onto it until I had the perfect use for it. Well, when I was searching for something on Etsy last week, I came across this SVG file from Honeybee SVG and knew right away that it would be perfectfor the tray!
I pulled out my Cricut Maker, dug through my adhesive foil stash, and within 20 minutes, I had this tray whipped up!

Hey y'all! Tis the season to start thinking Christmas {can you even believe it?!!}, and I'm about to make you the best neighbor on the block with one of my very favorite Neighbor Christmas Gift Ideas!
It's fast, it's easy, and it's something they'll actually use...happily. :)
I mean, let's face it. Is there anyone out there that doesn't need a little sip or two of an adult beverage to get through the holiday craziness? If you happen to have a neighbor that might answer yes to that question, then fill this wine bottle gift wrap with sparkling cider instead (and send me that adult beverage)!

When you're hosting a meal, there's nothing more welcoming than a pretty table.
During one of my {far too many} visits to Target, I found these gorgeous flannel place mats and knew they needed to make their way into my cart!
I already had some pretty linen napkins that matched perfectly, and quickly decided that a DIY Thanksgiving Place Setting was gonna have to go down!

When I was browsing through JoAnn the other day, I came across this plaid throw that was too pretty to pass up. It's so soft!
As I continued to mosey through the store, I found a gray polka-dotted flannel that looked so good with the blanket, so of course my wheels started spinning.
I am NOT a seamstress, so sewing anything together was completely out of the question. BUT, I do know how to use Heat 'n Bond. And I do happen to have a Cricut Maker that can precisely cut the fabric and bonding for me...
...so that, my friends, is how this DIY Throw Blanket using the Cricut Maker was born...without having to sew a stitch!

Hey guys! How did you like all of that amazing Halloween inspiration in the blog hop yesterday? Weren't those Trunk or Treat ideas so much fun?!! If you missed it, you can catch up here.
Now, buckle up, because we're at it again today with yet another Halloween Blog Hop...
...and an incredible giveaway!
I promise ya, you do not wanna miss this, so scroll down and let's get this party started!
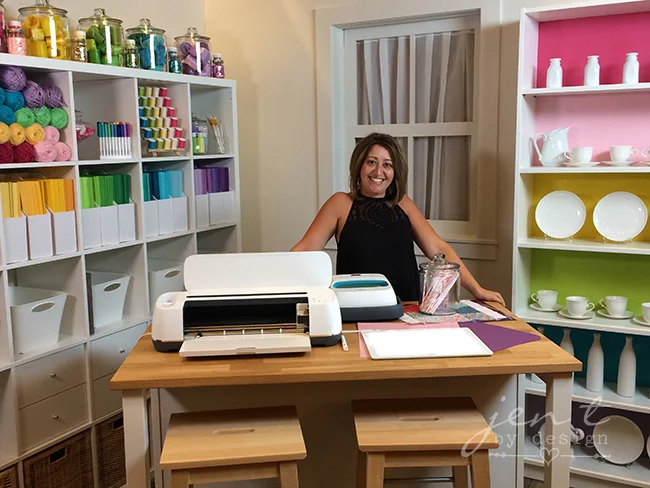
You guys!!! The crafting world as we know it has just had a major breakthrough, and it's all because of the brand new Cricut Maker!
This revolutionary new machine has capabilities that are so cutting edge that they'll send your brain into a creative tailspin!
I'm kind of a Cricut newbie...I mean, I just got my first Cricut machine (the Explore Air 2) earlier this year, so why in the world would I want a new machine?
Well, I was lucky enough to be invited to Salt Lake City to attend the unveiling of the Maker, and after getting some hands-on time with the machine and learning all about it from it's creators, there was no doubt in my mind that this machine deserves a home in every craft room!

Did you catch the Watermelon First Birthday Party that I shared last week?
If so, you probably caught a glimpse of these super duper cute little DIY Bottle Wraps that I created with a little help from my brand spankin' new Cricut Explore Air 2.
You guys! If you want to add a little "pow" to you party decor, this is a sure bet! You can whip these bottle wraps up in a jiffy, and they're perfectly customizable! Use any colors/patterns you want to make them a perfect fit for your celebration!

One of the things I miss most about my kiddos being little is their birthday parties. There was something so magical about watching their little faces as they soaked in every detail of a celebration that was designed especially for them!
Since those days are looooong gone, when Cricut contacted me to design a Watermelon First Birthday Party for them, I was all over it! I have a Watercolor Watermelon Invitation in the shop that I've always wanted to create a party around, so this provided the perfect opportunity to check that off the list!


I don’t know about you, but finding the perfect costume can be a real struggle! The process usually ends up involving some form of DIY project because I can never find exactly what I’m looking for. That’s what happened for the Halloween Monster Mingle that I recently hosted for Oriental Trading Company.
I wanted everyone to be dressed in their “monstrous” best, but none of the costumes that I found were striking my fancy. So, as I tend to do, I pulled out my Cricut machine and started crafting up some designs. About an hour and a half later, a few solid tees and a solid baby romper were transformed into some super cute DIY Monster Halloween Costumes! Take a peek below to see how you can recreate these monstrously adorable costumes for your own little ghouls and goblins!