DIY Sassy Little Lassie Shirt
/Affiliate links are included in this post, which means that as an Amazon Associate I earn from qualifying purchases, at no additional cost to you. More information can be found here.

Your little girl will be the cutest clover in the patch when she sports this adorable DIY Sassy Little Lassie St. Patrick’s Day Shirt! Whether you’re heading to a St. Paddy’s Day celebration or just want your little one to show off her sassy spirit, this shamrock shirt is just too cute to resist. We created it for a St. Paddy’s Day Shenanigans Party and it was the perfect attire! Take a peek below for step-by-step instructions for creating one of your own.
You’ll Need:
- A white shirt (I found this shirt on Amazon
)
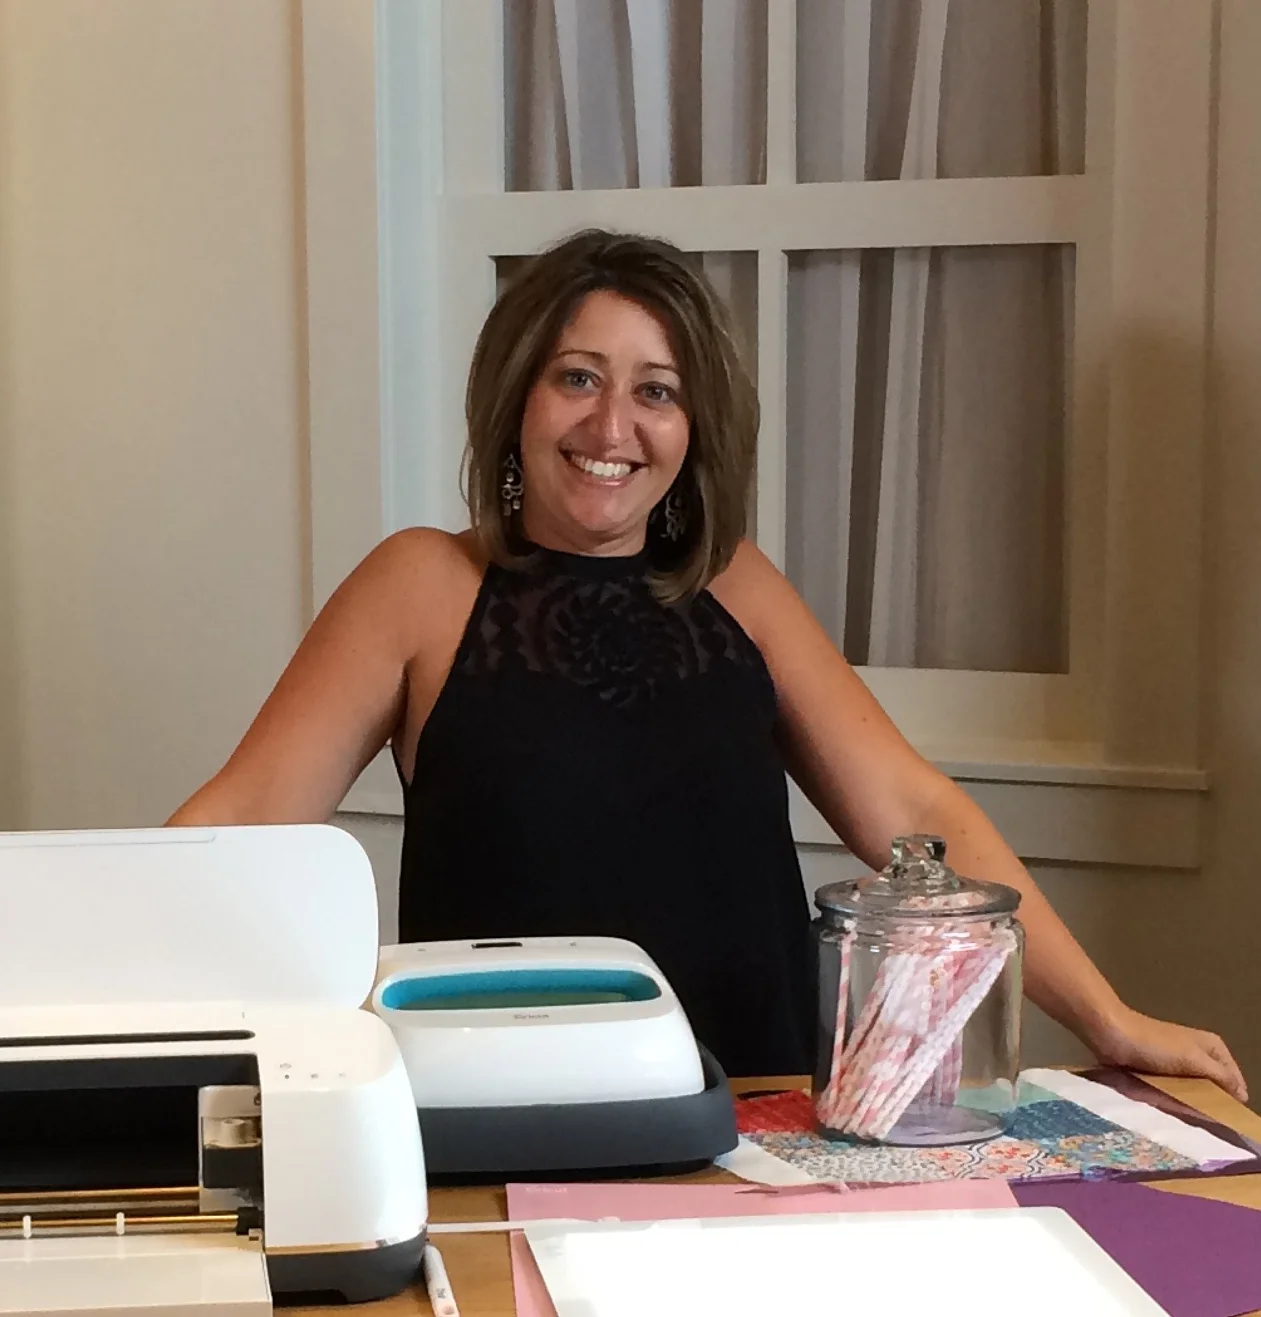
- Cricut cutting machine (I used the Cricut Explore Air 2)
- Black Iron-on Vinyl
- A rainbow assortment of iron-on vinyl. You can choose your own assortment of shades here, or use this rainbow value pack
- Cutting Mat
- Weeder
- EasyPress 2 or Iron
- EasyPress Mat or Towel

To begin, open this project in Cricut Design Space and click “Make It.”

When working with iron-on, you will need to cut your design in reverse so that it doesn’t appear backwards when you apply it to your project. Always be sure to toggle the “Mirror” button on for each vinyl color that you will be cutting. Simply click on each mat to the left and click the button to the on position prior to cutting.
Follow the prompts in Design Space to load each color of vinyl onto the cutting mat and cut your design.

Use the weeding tool to peel away the negative vinyl (the vinyl around the outside of your design) from each piece of material.

Preheat an EasyPress 2 or iron to the settings required for your shirt material. Heat settings for an EasyPress 2 can be found here, and iron settings can be found on the iron-on vinyl packaging.

Situate the carrier sheet with the black text onto the shirt to determine where you would like to apply it. Once you know where you’d like for it to go, remove the text and preheat the area of the shirt for about five seconds to remove any moisture and ensure a better adhesion. Replace the text and follow the heat instructions to apply it. Flip the shirt over and follow the heat instructions again to apply heat from the back side. Allow to cool for just a minute or so, and while still warm, peel away the carrier sheet. The carrier sheet should peel away easily, but if it doesn’t just apply a few more seconds of heat and try again. SAVE THE CARRIER SHEET.
Applying the next colors requires some careful attention. It is important to make sure that the hot EasyPress 2 or iron doesn’t touch any vinyl that has already been applied to the shirt. I typically situate the next color of vinyl where I’d like it to be applied, then use the previous carrier sheets to protect any exposed vinyl that is already on the shirt so that I don’t accidentally touch it. Repeat until all of the colors have been applied.

That’s all there is to it! So easy and SO cute!

I hope you’ve been inspired to make one of your own! If you do, please be sure to tag me on social media using one of the channels at the top or bottom of this page so that I can see. I just love seeing what you guys create!
Also, don’t forget to check out the St. Paddy’s Day Shenanigans Station for some really adorable St. Patrick’s Day ideas for kids. It’s a ton of fun and the kiddos will love it!!!