DIY Monster Halloween Costumes for Babies and Kids Using Your Cricut Machine
/Affiliate links are included in this post, which means that as an Amazon Associate I earn from qualifying purchases, at no additional cost to you. More information can be found here.

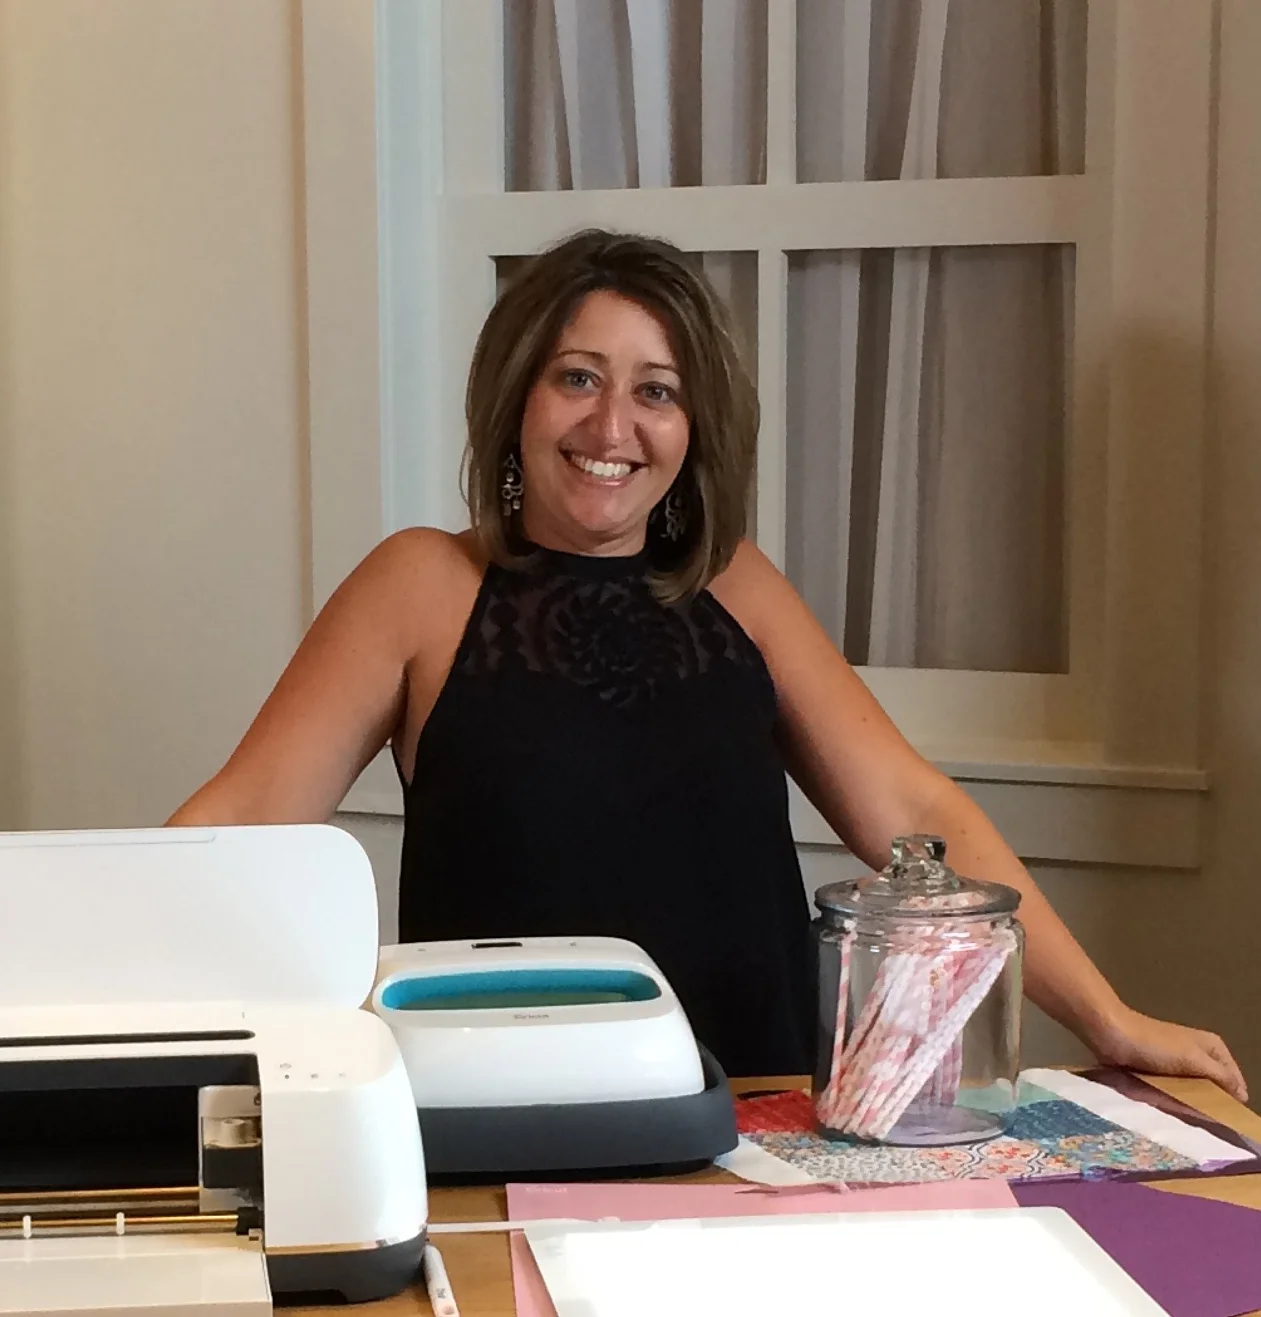
I don’t know about you, but finding the perfect costume can be a real struggle! The process usually ends up involving some form of DIY project because I can never find exactly what I’m looking for. That’s what happened for the Halloween Monster Mingle that I recently hosted for Oriental Trading Company.
I wanted everyone to be dressed in their “monstrous” best, but none of the costumes that I found were striking my fancy. So, as I tend to do, I pulled out my Cricut machine and started crafting up some designs. About an hour and a half later, a few solid tees and a solid baby romper were transformed into some super cute DIY Monster Halloween Costumes! Take a peek below to see how you can recreate these monstrously adorable costumes for your own little ghouls and goblins!
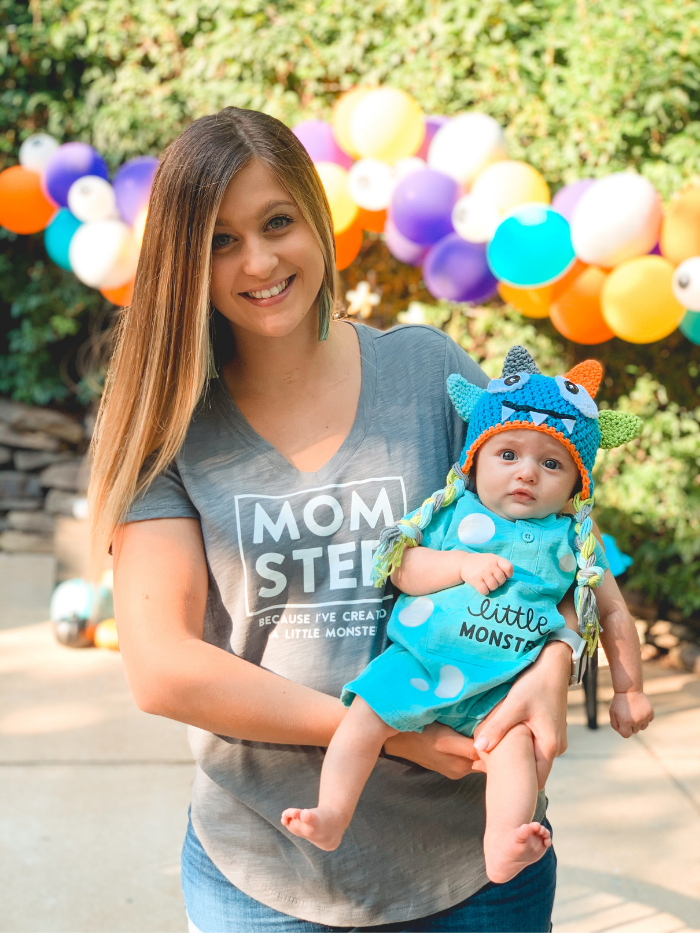
Matching Monster and MOMster Costumes
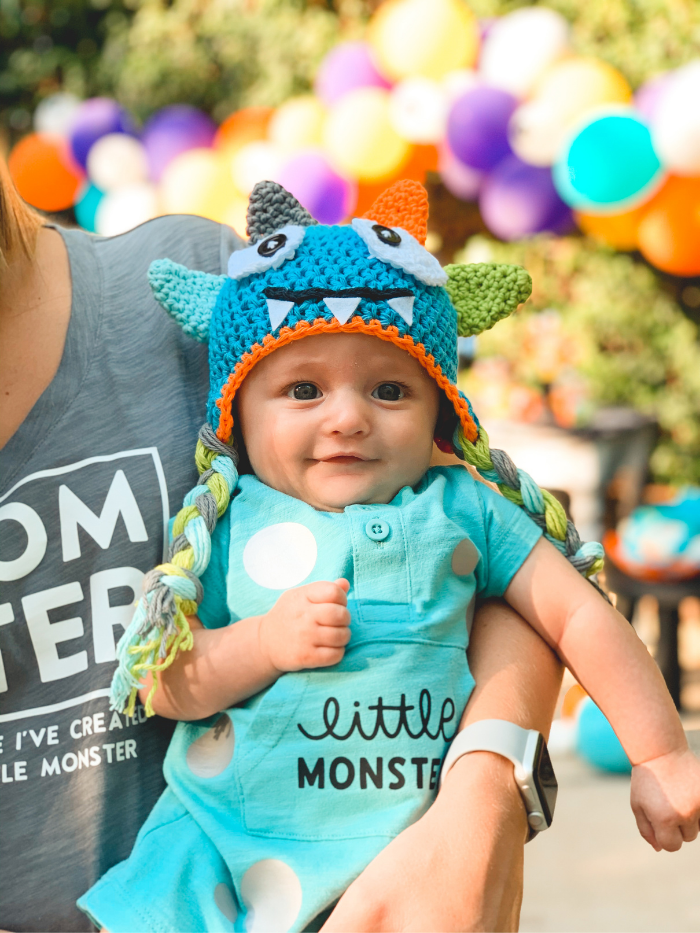
I can’t get enough of these Mommy & Me Monster Outfits. Aren’t they perfect for a new mama and her sweet baby? I mean, just look at that monster hat, would ya? So daggone cute!!!
How to Make the Little Monster Costume
You’ll Need:
- This project in Design Space
- Cricut Cutting Machine (an Explore Air 2, Maker, or Joy will work)
- Cricut Iron-on Vinyl (I used black and silver)
- Cricut EasyPress or Iron
- Cricut EasyPress Mat or towel
- Solid Romper
- This Crochet Monster Hat from MRocheCrochet
Instructions:
Begin by opening the project in Design Space and clicking “Customize.” Measure the width of the romper, then decide how wide you’d like the “Little Monster” text to be.
in the “Size” section of the top menu in Design Space, enter your desired width in the width box, then hit enter. The height will adjust accordingly. Adjust the sizes of the polka dots to your liking.
Click “Make It.”
Toggle the “Mirror” button to the “on” position. When working with iron-on, you want to cut the vinyl in reverse so that it reads properly when applied to your project.
Follow the prompts in Design Space to connect your machine, load your material and cut your design.
Weed the negative vinyl from the design.
Preheat your Cricut EasyPress using the Cricut Heat Guide as a reference (or preheat your iron based on the vinyl packaging instructions).
Once the EasyPress has reached the desired temperature, on a protected surface (I use a Cricut EasyPress Mat) place the EasyPress on the romper where you’d like to apply the vinyl, then press for 5 seconds. This removes any excess moisture from the material and helps create a better adhesion.
Situate the vinyl where you’d like it to appear on the romper, then press with the EasyPress using the time and temperature settings from the Cricut Heat Guide.
Turn the romper over and press the back of the design for 15 seconds.
Allow the vinyl to cool for about a minute, then peel away the carrier sheet.
Repeat the process to apply the dots, being sure not to let the EasyPress or iron touch any exposed vinyl.
Add the monster hat to complete the costume.

How to Make the MOMster Shirt
You’ll Need:
- This project in Design Space
- Cricut Cutting Machine (an Explore Air 2, Maker, or Joy will work)
- Cricut Iron-on Vinyl (I used white)
- Cricut EasyPress or Iron
- Cricut EasyPress Mat or towel
- Solid Tee
Instructions:
Begin by opening the project in Design Space and clicking “Customize.” Measure the width of the shirt, then decide how wide you’d like “MOMster” text to be.
in the “Size” section of the top menu in Design Space, enter your desired width in the width box, then hit enter. The height will adjust accordingly.
Click “Make It.”
Toggle the “Mirror” button to the “on” position. When working with iron-on, you want to cut the vinyl in reverse so that it reads properly when applied to your project.
Follow the prompts in Design Space to connect your machine, load your material and cut your design.
Weed the negative vinyl from the design.
Preheat your Cricut EasyPress using the Cricut Heat Guide as a reference (or preheat your iron based on the vinyl packaging instructions).
Once the EasyPress has reached the desired temperature, on a protected surface (I use a Cricut EasyPress Mat), place the EasyPress on the shirt where you’d like to apply the vinyl, then press for 5 seconds. This removes any excess moisture from the material and helps create a better adhesion.
Situate the vinyl where you’d like it to appear on the shirt, then press with the EasyPress using the time and temperature settings from the Cricut Heat Guide.
Turn the shirt over and press the back of the design for 15 seconds.
Allow the vinyl to cool for about a minute, then peel away the carrier sheet.


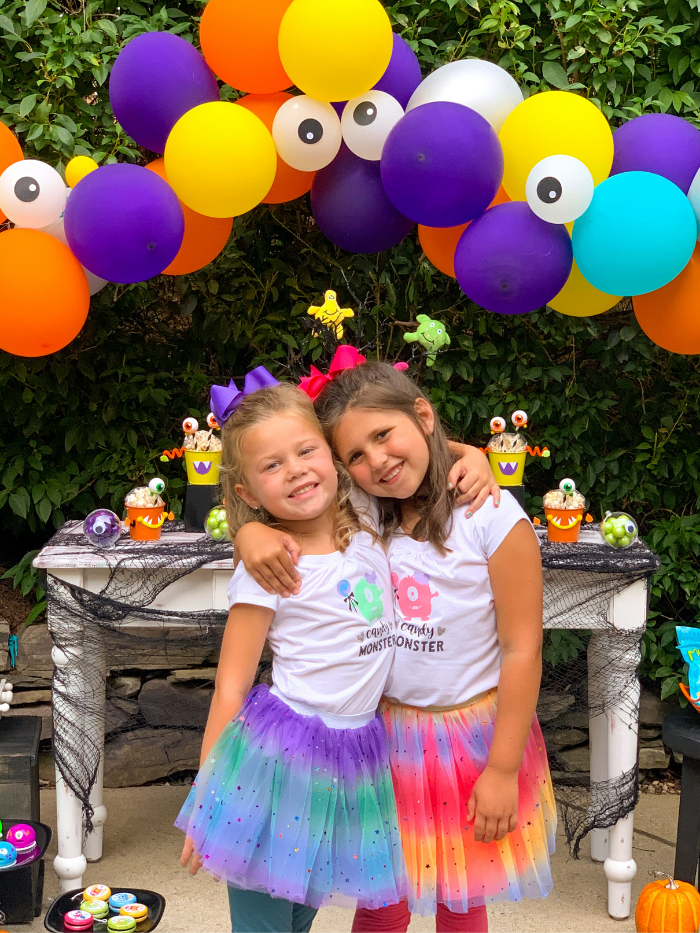
How to Make the Candy Monster Costumes
You’ll Need:
- This project in Design Space
- Cricut Cutting Machine (an Explore Air 2, Maker, or Joy will work)
- Cricut Iron-on Vinyl (I used black, silver glitter, mint, pink, lilac and blue)
- Cricut EasyPress or Iron
- Cricut EasyPress Mat or towel
- Solid White Tees (I used these from Amazon)
- Colorful Tutus (I used these from Amazon)
Instructions:
Begin by opening the project in Design Space and clicking “Customize.” Measure the width of the romper, then decide how wide you’d like the design to be.
in the “Size” section of the top menu in Design Space, enter your desired width in the width box, then hit enter. The height will adjust accordingly.
Click “Make It.”
Toggle the “Mirror” button to the “on” position. When working with iron-on, you want to cut the vinyl in reverse so that it reads properly when applied to your project.
Follow the prompts in Design Space to connect your machine, load your materials and cut your design.
Weed the negative vinyl from the designs.
Preheat your Cricut EasyPress using the Cricut Heat Guide as a reference (or preheat your iron based on the vinyl packaging instructions).
Once the EasyPress has reached the desired temperature, on a protected surface (I use a Cricut EasyPress Mat), place the EasyPress on the shirt where you’d like to apply the vinyl, then press for 5 seconds. This removes any excess moisture from the material and helps create a better adhesion.
Since you’re working with several layers of vinyl, you’re going to want to arrange the pieces in order from bottom most layer to top layer before attaching them to the shirt. Once you’ve got them arranged, starting with the bottom-most layer of the design, situate the vinyl where you’d like it to appear on the romper, then press with the EasyPress using the time and temperature settings from the Cricut Heat Guide.
Turn the shirt over and press the back of the design for 15 seconds.
Allow the vinyl to cool for about a minute, then peel away the carrier sheet.
Repeat the process to apply the other colors of vinyl, being sure not to let the EasyPress or iron touch any exposed vinyl. This can be done by covering the applied vinyl with the carrier sheets when applying a new color.
Complete the costumes with colorful tutus and leggings.
Now that your costumes are done, you’re all ready to celebrate! Start planning your Halloween Monster Mingle here:

More Halloween DIY Projects You May Like:


If you like these ideas, please "Like," "Pin," "Share" or "Tweet!" Or, you can just shout it from the rooftops, if that's your thing. Thanks bunches!!! :)